How to Clean Cats Ears A Gentle Guide 🐾

Ready to learn how to clean your cat's ears? Our mascot Floofie says the secret is a gentle touch, a purrfectly formulated cleaning solution, and some soft cotton balls—never Q-tips. A few drops of solution, a soft massage at the base of the ear, and a gentle wipe are really all it takes to keep your feline friend comfortable and healthy. 💖
Why Cat Ear Cleaning Is So Impurrtant
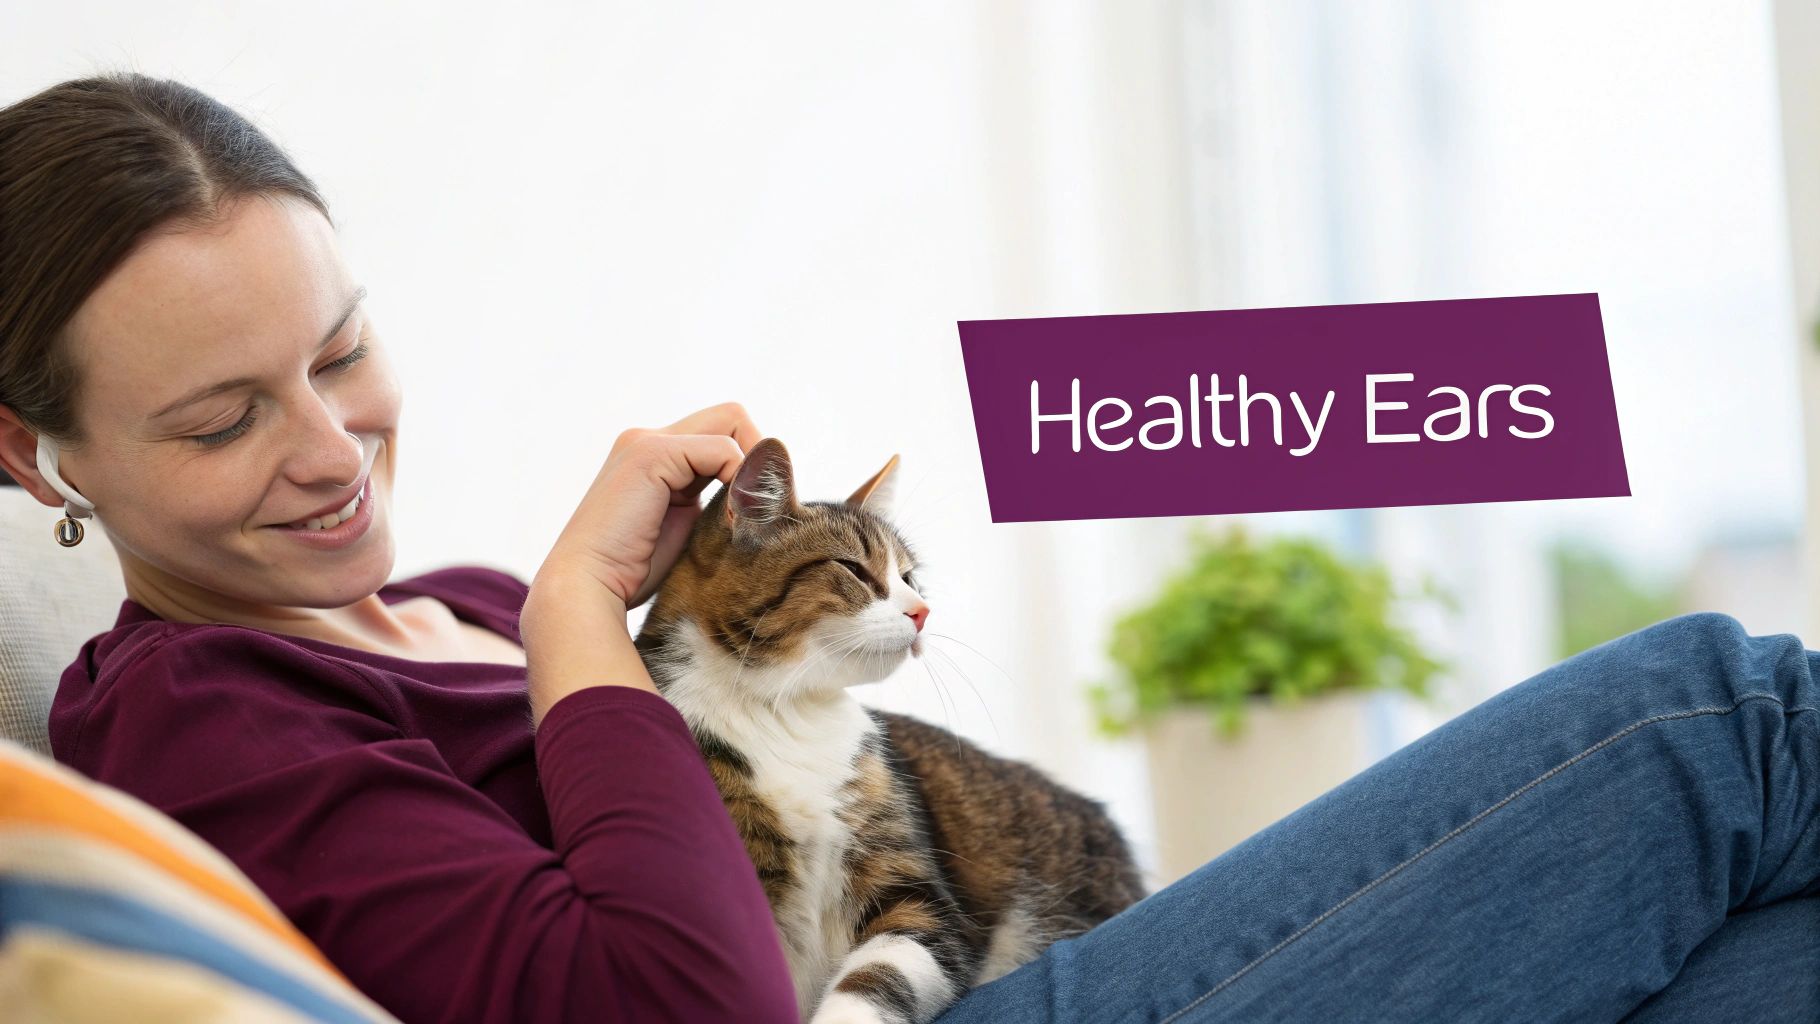
Welcome, fellow cat parent! Our chief feline officer, Floofie, is here to tell you that healthy ears are happy ears. 😸 Before we dive into the nitty-gritty, let's chat about why this simple task is such a game-changer for your cat's well-being.
Think of regular ear checks as your superpower in preventative pet care! It's one of the best things you can do to keep them comfortable and head off bigger problems down the road. This isn't just about looks; it's about their health.
The Big Benefits of Clean Ears
A quick peek in those adorable ears can tell you a lot. Keeping them clean helps you:
- Prevent Painful Infections: A buildup of wax and debris can create the perfect party spot for bacteria and yeast, leading to some nasty infections. A gentle clean keeps that gunk in check.
- Spot Pesky Parasites: Ear mites are tiny critters that love to set up camp in ear canals, causing intense itchiness. Regular checks help you spot their tell-tale dark, coffee ground-like residue early on.
- Monitor Overall Health: Believe it or not, changes in your cat’s ears can sometimes be a sign of allergies or other underlying health issues. You're the first line of defense!
Floofie’s Fun Fact: Just like us, some cats are more prone to ear buildup than others! Breeds with folded ears, like the Scottish Fold, or those with luscious long fur often need a little extra attention.
As more of us become proactive about our pets' health, the demand for quality care products is growing. The global market for pet ear cleaners was valued at around $425 million in 2023 and is expected to keep climbing—which just goes to show how much we adore our furry family members.
For anyone new to the cat parent life, establishing these little routines early is key. Check out our ultimate guide for a first-time cat owner for more tips on creating a happy, healthy home for your new companion.
Gathering Your Gentle Cleaning Toolkit
Time to assemble your mission supplies! Floofie insists that having your cat ear cleaning toolkit ready before you retrieve your furry overlord makes the whole process smoother and less stressful. 😻
Setting up your station first means you can focus entirely on your kitty. You don't want to be scrambling for a cotton ball while trying to keep a squirmy cat calm.
Your Cat Ear Cleaning Essentials
Floofie's quick checklist to make sure you have everything you need before you start.
| Item | Why It's a Must-Have |
|---|---|
| Vet-Approved Ear Solution | The star of the show! It's specifically designed to break down wax and debris safely. |
| Cotton Balls or Gauze Pads | Perfect for gently wiping the visible parts of the ear. Soft, absorbent, and safe. |
| A Fluffy Towel | Your secret weapon for creating a cozy "purrito" wrap to help your cat feel secure. |
| High-Value Treats | Non-negotiable! This is your payment for a job well done. Think tuna flakes or lickable treats. |
Having these items within arm's reach creates a calm, controlled environment. Now, let's talk about the most important item on that list.
What to Grab and What to Ditch
The absolute star of the show is a high-quality, vet-approved ear cleaning solution like our very own FloofChonk ear cleaning solution. Look for gentle formulas without alcohol or hydrogen peroxide, as these can sting and irritate the delicate skin inside the ear canal. When you're picking out supplies, it's really important to know what makes a product truly pet-safe. If you want to dive deeper, there's a helpful guide to safe cleaning products for pets that breaks it down.
Next up are your wiping tools. Soft cotton balls or gauze pads are your best friends here. They're perfect for gently swiping away any gunk the cleaning solution has loosened up.
And don't forget the towel! This isn't just for potential messes. A cozy towel is your secret weapon for creating a comforting 'purrito' wrap, which helps keep your cat feeling secure and still.
A Major No-No 🛑: Never, ever use cotton swabs (like Q-tips) inside your cat's ear. Their ear canal has an 'L' shape, and a swab can easily push debris deeper, potentially causing a blockage or even puncturing the eardrum. It’s simply not worth the risk.
Of course, the most important part of your toolkit is a small pile of their absolute favorite, can't-resist treats. This is how you turn a potentially stressful event into a positive experience.
For more insights on feline care, especially if you have a fluffy companion, you might enjoy our article on the beautiful long-haired orange tabby cat. Now that your toolkit is prepped, you're ready for the main event! ✨
The Purrfectly Calm Cleaning Method
Alright, let's get down to business. The real secret to cleaning your cat's ears isn't about being fast—it’s about being calm. Your cat is an expert at reading your energy, so if you're stressed, they'll be stressed. Take a deep breath and turn this into a quiet, positive moment instead of a WWE-style takedown.
First things first, create your zen zone. Find a quiet spot away from household chaos and lay down a soft towel on your lap or a sturdy surface like a counter. This is your official cleaning station.
The Gentle Art of the Purrito
Once you're settled in, it's purrito time. Gently wrap your cat in another fluffy towel, tucking it snugly around them until only their head is peeking out. 🌯 This isn't about restraint; it’s about making them feel secure. Many cats find this swaddling motion comforting, and it keeps them from wiggling away or accidentally scratching you.
With your cat comfortably wrapped, offer some gentle pets and quiet praise. Let them know what a good little purrito they are. This positive reinforcement is everything when it comes to building trust for future grooming sessions.
This quick guide shows the simple, stress-free flow from getting your solution to rewarding your cat.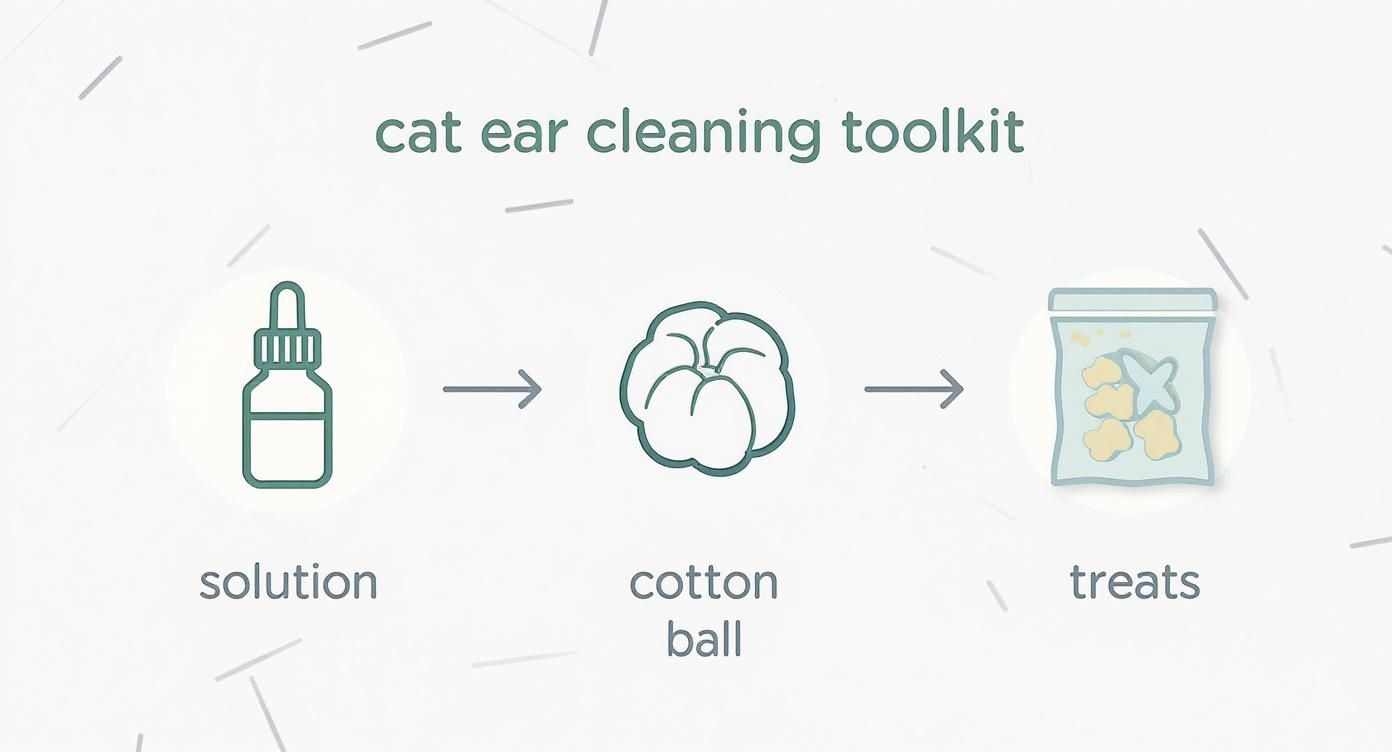
The process is straightforward: apply, massage, wipe, and treat, keeping things gentle at every stage.
Applying the Solution and Massaging Magic
Now for the main event. Gently hold your cat’s head and tilt it just enough to expose the ear canal. Squeeze a few drops of a vet-approved ear cleaning solution from FloofChonk directly into their ear. Pro tip: try not to let the bottle tip actually touch their ear, as this can introduce bacteria.
With the solution in, it's time for the best part! Gently massage the base of the ear for about 20-30 seconds. You should hear a distinct squishy sound—that's the cleaner working its magic, breaking up all the wax and debris hiding deep inside.
Floofie’s Top Tip: After the massage, stand back and let your cat shake their head! It's a natural instinct that helps bring all that loosened gunk up from the canal to the outer ear, making your job way easier. Just be ready to duck. 😼
Finally, take a clean cotton ball or a piece of gauze and gently wipe away all the visible gunk and extra solution from the outer part of the ear and its folds. Remember, never go inside the ear canal with a cotton swab or anything else. Just clean what you can easily see.
Repeat the process on the other side with a fresh cotton ball. As soon as you're done, shower them with praise and their absolute favorite high-value treats. You want them to walk away thinking, "Well, that was weird... but hey, I got tuna out of it!" This builds a positive connection that will make next time a total breeze. You did it! 🎉
Knowing What's Normal and What's Not

Alright, time to play detective. Being a great cat parent means knowing the difference between a happy, healthy ear and one that's quietly sending out an SOS. This is probably the most important skill you can have—it tells you when a simple cleaning is fine and when it's time to call the vet.
So, what does a healthy cat ear look like? It's actually pretty simple. The inside skin should be a pale pink color. It should be clean, free of any funky smells, and have just a tiny bit of light brown wax, if any at all. A little wax is totally normal, just like in our own ears!
Red Flags to Watch For
Sometimes, a peek inside your cat's ears will reveal something that isn't quite right. These are the signs that your kitty needs a professional's opinion, not just a routine cleaning at home.
- Dark Debris: See anything that looks like coffee grounds? This is the classic, tell-tale sign of ear mites.
- Funky Odors: A strong, yeasty, or just plain foul smell is a major red flag for an infection brewing in there.
- Redness & Swelling: The inner ear should never look angry, bright red, or puffy. Inflammation means something is wrong.
- Excessive Scratching: Is your cat constantly digging at their ears or shaking their head? That's their way of telling you something is seriously bothering them.
If you spot any of these symptoms, it's time to pause the cleaning mission. For a deeper dive, you can learn more about understanding ectoparasites and ear mites in pets from this helpful resource.
Floofie’s Final Word: If you notice any discharge, bleeding, or if your cat seems to be in pain when you touch their ears, don't even think about cleaning them. A trip to the veterinarian is the safest and kindest next step for your furry friend. 💖
It's great to see how much preventive pet care has grown. In fact, North America holds a huge share of the pet ear cleaner market, making up about 38% in 2024. It just goes to show how dedicated pet parents are to keeping their companions healthy.
A calm home environment really does contribute to a less stressed pet, which makes grooming so much easier. Creating a relaxing atmosphere with scents can be a game-changer for your routine. Check out our guide to pet-friendly incense for some great ideas to chill everyone out.
Floofie's Favorite Tips and Tricks
Want some insider secrets from our resident feline expert? Floofie has shared a few pro-level tricks to make you an ear-cleaning champion. 🏆 These clever strategies can transform a chore into a surprisingly positive bonding moment for you and your furry bestie.
The real magic is all in the timing. Try to approach your kitty for a cleaning session when they're already sleepy and relaxed—like after a long, luxurious sunbathing session—not during their 3 a.m. zoomies. A calm cat is a much more cooperative cat.
Make It a Paw-sitive Experience
The goal is to teach your cat that having their ears handled is actually a good thing. This is where a little trick called counter-conditioning comes in handy. You can "practice" the routine without ever using the cleaner.
- Gently handle their ears for just a few seconds.
- Immediately follow up with a super high-value treat, like a few tuna flakes or a lickable treat.
- Repeat this daily to build a happy, trusting association.
Floofie’s Top Tip: Before you even think about using the actual cleaner, just get them used to the bottle. Let them sniff our FloofChonk ear cleaning solution bottle (while it’s closed!) and reward them with a treat. This simple step removes the scary "unknown" factor from the equation.
As more pet parents focus on preventative health, the market for easy-to-use products is booming. It's projected to grow at a rate of 6% annually from 2025 to 2033, with convenient options like pre-soaked wipes leading the charge. You can read more about these pet care trends and see how innovation is making our jobs as pet parents so much easier. ✨
Got Questions About Cleaning Your Cat's Ears?
If you've still got a few questions floating around about cleaning your cat's ears, you're definitely not alone! It's one of those topics that can feel a bit tricky. Our mascot Floofie is here to help clear up the most common curiosities cat parents have, so you can feel totally confident in your ear care routine. 🐾
How Often Should I Clean My Cat's Ears?
For most cats, a quick peek inside their ears about once a month is all you need to do. You only need to break out the FloofChonk ear cleaning solution if you actually see any gunk or wax building up.
Some breeds, especially those with fluffy or folded ears like Scottish Folds, might need more frequent checks. Just remember that over-cleaning can backfire and cause irritation. When in doubt, your vet knows your cat best—always follow their specific advice!
What if My Cat Absolutely Hates It?
Patience is your best friend here! If your cat is not having it, start small. For a few days, just gently touch their ears for a second and immediately follow up with a high-value treat they go crazy for. 🐟
Gradually work your way up to the full cleaning process over several sessions. Using the "purrito" wrap can also be a game-changer, making them feel much more secure and snug.
Floofie’s Important Meow-ssage: If your cat shows real signs of distress, starts hissing, or seems to be in pain, stop immediately. That's their way of telling you something is wrong, and it’s time to call in the professionals—your vet.
Can I Use Homemade Solutions?
Please don't! It’s tempting to reach for things you have around the house, but it’s best to avoid using water, hydrogen peroxide, or rubbing alcohol.
These can seriously irritate the delicate skin inside the ear canal and could turn a minor issue into a much bigger problem. Always stick to a gentle, vet-approved solution designed specifically for feline ears, like our FloofChonk ear cleaning solution.
Ready to give your kitty the best? The FloofChonk store is packed with paw-some products and accessories to make every cat parent's life easier. Check out our collection at https://www.floofchonk.com.