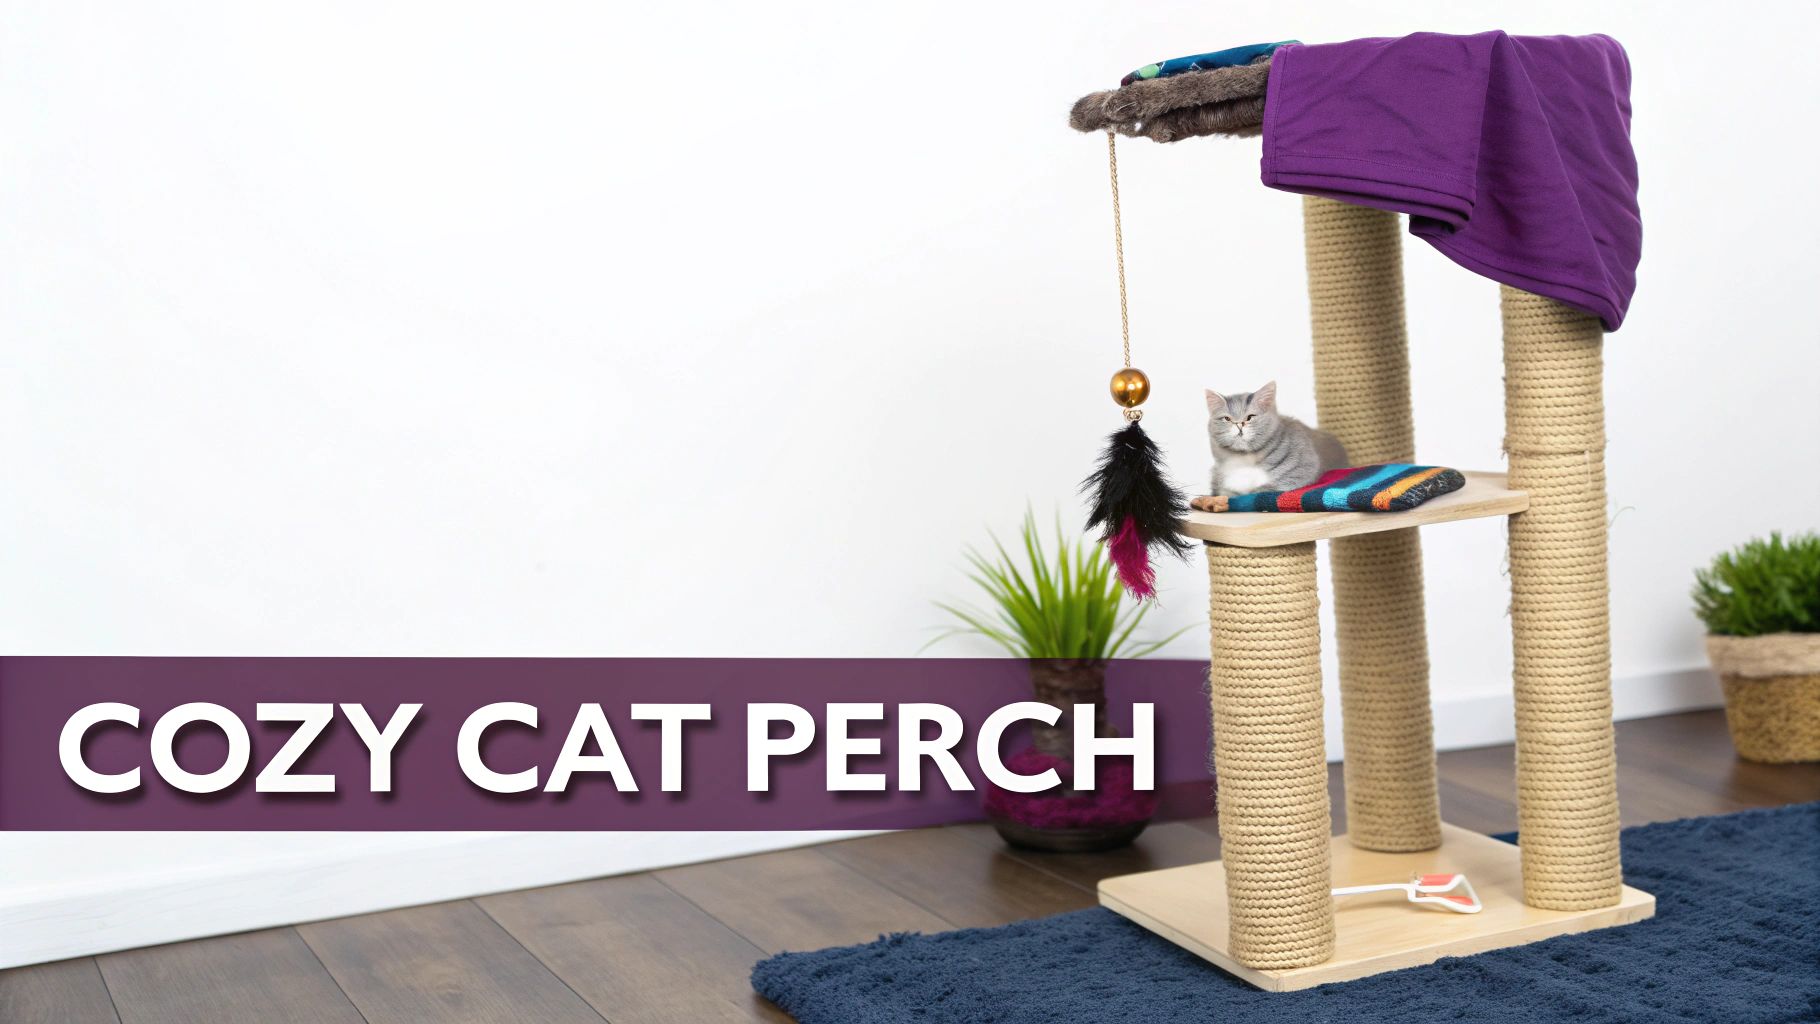
DIY Cat Tower Cardboard Your Kitty Will Love

Ready to turn that mountain of delivery boxes into a kitty kingdom? 🏰 A DIY cat tower cardboard project is one of my favorite ways to spoil a cat without breaking the bank. It taps into their wild instincts to climb, scratch, and judge us from above—all while being a super fun and rewarding craft.
You're literally turning trash into a treasure your feline will go bonkers for.
Why Build a DIY Cardboard Cat Tower

Alright, fellow cat people! Before we start slicing and dicing those boxes, let's get into why this is such a fur-bulous idea. My own cat, the legendary Floofie, can confirm there's nothing quite like a custom-built perch made with love (and a whole lot of sturdy cardboard!). 😻
This project isn't just about saving money. It's about giving your cat exactly what they need. Cats are hardwired to be climbers and observers, and giving them a vertical space of their own is a total game-changer for their confidence and happiness.
Satisfy Their Natural Instincts
A cardboard tower isn't just a piece of furniture; it's a purr-fect playground that speaks their language. Cats have deep-seated needs to scratch, climb, and hide away. A thoughtfully designed DIY tower checks all those boxes, keeping them sharp and active.
Here’s what your kitty gets out of it:
- A Scratching Paradise: Cardboard has that perfect, shreddable texture cats just love to dig their claws into. Give them this, and you might just save your sofa from its untimely demise. 🙏
- The Best Seat in the House: Cats feel safer when they can survey their territory from a high perch. Your tower becomes their personal lookout post.
- Brain and Body Workout: A multi-level tower with little hidey-holes and windows encourages them to explore and play, which is the ultimate cure for feline boredom. For more ideas, check out our guide on how to entertain indoor cats.
An Eco-Friendly and Budget-Wise Choice
Beyond the pure fun of it, building a cat tower from old boxes is a brilliant exercise in upcycling old items into new projects. You're giving those boxes a second, much more glorious life instead of just tossing them in the recycling bin.
"A bored cat is a cat that is more likely to make trouble in one form or another, so you’ll want to do all you can to create an enriching and stimulating home for your cat."
And it's not just us—providing dedicated pet furniture is a huge trend. The market for cat trees and towers hit around USD 600 million in 2024 and is projected to soar to USD 1.2 billion by 2033. That boom shows just how much we're all willing to do for our furry overlords! You can see the full market research on cat furniture trends if you're curious.
Gathering Your Project Materials
Alright, let’s get ready to build! Before you can create the ultimate cardboard fortress for your feline overlord, you need to assemble your arsenal of supplies.
Think of this as your pre-flight checklist to ensure a smooth, successful, and most importantly, fun construction project. Floofie, our head of project management, insists on having everything laid out before the first cut is made. 😹
The star of the show is, of course, the cardboard! Not all boxes are created equal in the eyes of a feline architect. You'll want to hunt for sturdy, double-walled corrugated boxes. These are the heavy-duty heroes you get from appliances, large electronics, or big online orders. Their dual-layered structure is what gives them the strength to support even the chonkiest of kitties during a serious case of the zoomies.
Finding Your Cardboard Goldmine
The best part? You don't need to spend a dime to source top-tier building materials. Great cardboard is often hiding in plain sight, just waiting to be repurposed into a kitty palace.
Here are a few purr-fect places to look:
- Local Appliance or Furniture Stores: They often have a mountain of high-quality boxes they're happy to give away. Just ask!
- Supermarkets and Big-Box Retailers: Find out when they restock shelves. You can often snag their empty boxes before they head to the compactor.
- Community Groups Online: A quick post on a local neighborhood forum or Buy Nothing group can yield a surprising number of free, sturdy boxes from people who just moved.
The choice of corrugated cardboard isn't just a coincidence; it's a globally recognized champion for these kinds of projects. Its amazing balance of strength, low cost, and recyclability makes it a favorite. This has particularly fueled its popularity in places like the Asia Pacific region, where growing pet ownership has created a huge demand for practical, eco-friendly pet furniture. Want to geek out on the data? You can find more insights on the corrugated pet products market to see just how popular our main material is.
Your Essential Toolkit
With your cardboard secured, it's time to gather the tools that will bring your vision to life. A few key items will make the process much easier—and safer.
Floofie’s Safety First Memo: "A safe human is an efficient treat-giver. My official recommendation is to always wear protective gloves when handling sharp tools. No excuses, hooman!" 🐾
To help you figure out what's truly necessary versus what's just nice to have, we put together a quick guide.
Essential vs. Optional DIY Tower Tools
| Tool or Supply | Category | Floofie's Pro Tip |
|---|---|---|
| Sharp Box Cutter | Essential | A fresh blade makes all the difference for clean, straight cuts. A dull blade is a safety hazard! |
| Non-Toxic Glue | Essential | This is non-negotiable! Use 100% pet-safe craft or wood glue. Cats lick and chew everything. |
| Metal Ruler | Essential | A metal straightedge won't get nicked by your blade, ensuring your lines are always true. |
| Cut-Resistant Gloves | Essential | Protect your paws! Seriously, a good pair of gloves can prevent nasty cuts. |
| Pencil or Marker | Essential | For marking your cut and fold lines. You'll be doing a lot of it. |
| Heavy Books or Clamps | Optional | Great for holding glued pieces together while they dry, ensuring a strong bond. |
| Hot Glue Gun | Optional | Perfect for quickly attaching decorative elements, but use it sparingly and never for structural parts. |
| Decorative Contact Paper | Optional | An easy way to add a pop of color or a fun pattern to your finished tower. |
So, at a minimum, you'll need the essentials from that list to get started. Here's a bit more on why each one is so important for the job.
- A Sharp Box Cutter: A fresh, sharp blade is your best friend. It will give you clean cuts and prevent those frustrating jagged edges. We recommend a reliable heavy-duty box cutter for this project.
- Non-Toxic Glue: I can't stress this enough! Cats chew on things, so you must use a glue that is 100% pet-safe. A high-quality, non-toxic wood glue or craft glue is perfect.
- A Sturdy Ruler or Straightedge: For measuring twice and cutting once. As mentioned, a metal one works best as it won't get chewed up by your cutter.
- Protective Gloves: As our safety supervisor Floofie insisted, a good pair of cut-resistant gloves is a smart investment to protect your paws... err, hands.
Designing and Building Your Cat Palace
Alright, let's get building! 😼 With all your materials in hand, it's time to put on your feline architect hat and start crafting the ultimate diy cat tower cardboard masterpiece for your furry supervisor.
Don't worry about complicated blueprints. The best way to tackle this is in simple, manageable stages. We'll start with the most critical part—a strong, sturdy foundation—and build our way up, level by level. Every piece needs to be ready for some serious parkour action. Floofie's architectural philosophy is simple: build it strong, then make it fun!
First, let's look at the core components. This infographic breaks down the simple but essential flow of gathering your main supplies.

This visual captures our foundational trio perfectly: strong cardboard, a sharp cutter, and pet-safe glue. If you master these three things, you're already on the path to a successful build.
Crafting a Wobble-Free Base
A great cat tower starts from the ground up. A wobbly base is just a recipe for a kitty disaster—not to mention a deeply unimpressed cat. The goal here is a wide, heavy foundation that can easily support the whole structure, even during the most chaotic zoomie sessions.
Start by picking out your largest, thickest pieces of cardboard for this part. Don't be shy about going big! A base that sticks out several inches beyond the tower's main footprint is exactly what you want.
To create a rock-solid foundation:
- Cut Multiple Identical Squares: Grab your strongest double-walled cardboard and cut at least three or four large, identical squares or rectangles.
- Laminate Them Together: Slather a generous layer of non-toxic wood glue between each sheet. You'll want full coverage, right to the edges.
- Press and Dry: Neatly stack the glued sheets and pile some heavy books or weights on top. Let it cure for several hours—overnight is even better—until it’s completely dry and feels like one solid board.
This layering technique, called lamination, is the secret sauce for turning flimsy cardboard into a surprisingly tough building material. The base you end up with will be heavy and rigid, giving your cat the stability they need to feel confident and secure.
A cat who feels safe will be a more confident cat. Helping your cat feel safe starts with providing them with sturdy perches and hideaway spaces that don't shift or wobble when they jump.
Building Strong Support Columns
Now that you have a solid foundation, it's time to build upwards! The support columns are the pillars of your kitty kingdom, holding up all the platforms, perches, and hidey-holes. We're going to use that same lamination principle, just applied vertically.
Your best bet for columns is to create either square or triangular shapes. Triangles are incredibly strong in engineering and will add a ton of rigidity to your design.
For a super-strong triangular column:
- Cut Three Panels: Cut three identical rectangular pieces of cardboard. How wide you make these panels will determine the size of your column.
- Score and Fold: On one of the panels, score a line about an inch from the edge. This creates a handy glue flap.
- Assemble the Triangle: Glue the three panels together to form a triangular tube. Use that flap you made to create a secure final connection.
- Reinforce Internally: Before you seal it all up, you can glue smaller cardboard triangles or braces inside the column for even more strength.
Once these are assembled and fully dried, the columns are incredibly durable. You can make several of them at different heights to support the various levels of your diy cat tower cardboard structure. This gives it a dynamic and interesting shape that just begs to be explored. Let the purr-kour begin! 🐾
How to Make Your Cardboard Tower Strong and Safe
Alright, you've got the basic shape of your diy cat tower cardboard palace. Now comes the most critical part: making it absolutely zoomie-proof. A wobbly tower is a major party foul in the feline world, and our Chief Safety Inspector, Floofie, insists that every creation can withstand a serious case of the crazies. 😼
This isn't just about slapping boxes together. We're talking about some light engineering to create a structure that handles surprise pounces, frantic scratching, and those deep, epic catnaps. Let's make this thing solid.
Reinforce Everything Like a Pro
The real secret to a cardboard structure that doesn't buckle under pressure is smart reinforcement. Think like an engineer, just with more frequent catnip breaks. Your main goal here is to kill any sway or wobble, especially at the corners and along those longer platforms.
- Create Internal Support Beams: Don't just rely on the outer walls. Cut and fold smaller pieces of cardboard into triangular tubes or "I-beam" shapes. Gluing these inside your support columns and under the largest platforms adds incredible rigidity. It's a game-changer.
- Embrace the Triangle: Remember high school geometry? Triangles are your best friend for stability. Cut out small cardboard triangles and glue them snugly into every corner where a platform meets a column. This simple trick makes a massive difference in reducing wobble.
- Layer Up for Lounging: We talked about this for the base, but it’s just as important for any level your cat will be hanging out on. Every platform should be made from at least two, or even better, three layers of cardboard glued firmly together.
Properly reinforcing your tower is what takes it from a fun craft project to a legitimate piece of cat furniture. It's no wonder the demand for these is huge. The global market for cat scratcher cardboard towers was valued between USD 1.02 billion to USD 1.42 billion in 2024! It just shows how much people value smart, eco-friendly pet gear.
Master the Art of Weight Distribution
An unshakeable tower isn't just strong—it's balanced. A top-heavy structure is a huge safety risk because it can tip over during an enthusiastic leap. You have to make sure your tower is bottom-heavy. No exceptions.
This just means your widest and heaviest parts need to be at the bottom. As you build up, each level should be a little smaller or lighter than the one below it. If you're planning a super-plush, heavy bed for the top perch, you'll need to make the base even wider and heavier to compensate.
A wobbly or unstable perch can make a cat feel insecure, which might lead them to avoid the tower altogether. A bottom-heavy design gives them the confidence to leap and climb without fear.
Floofie’s Final Safety Checklist
Before the grand opening, give your creation one last look-over. Floofie is a stickler for the details! 🐾
- Smooth All the Edges: Run your hand over every cut edge of the cardboard. If you feel any sharp or rough spots, smooth them out with a bit of sandpaper or just cover them with a strip of sturdy tape.
- Confirm Pet-Safe Materials: This one is non-negotiable. Double-check that your glue and any paints you used are 100% non-toxic and certified pet-safe. Cats lick and chew things, so there's zero room for error here.
- Do the Wobble Test: Get in there and give the tower a good, firm shake from different angles. Does it sway? Does it feel unstable? If you find a weak spot, go back and add more triangular braces or internal supports until it's rock-solid.
Making sure your home is a safe playground is just part of being a great cat parent. For a wider view on keeping your space secure for your furry overlord, you can learn more about how to cat-proof your home with our complete guide.
Creative Ideas to Customize Your Cat Tower
With your sturdy frame built, it's time for the best part—the interior decorating! 🎨 This is where we add the five-star amenities to your diy cat tower cardboard project and turn it into something your cat will be truly obsessed with.
Let’s be honest, a plain cardboard structure is functional, but we're aiming for a full-blown feline resort here. The goal is to engage all their senses. Think about what your cat absolutely loves—do they go nuts for rough textures, or are they a total sucker for a soft, plushy spot?
Adding Sensory Delights
Texture is everything in a cat's world. While the cardboard itself is fun, we can make it a multi-sensory paradise. Floofie insists that variety is the spice of life, and that's especially true for cat towers!
Here’s how to create a playground for their paws:
- Wrap the Posts in Sisal: Grab some pet-safe sisal rope and non-toxic wood glue. Wind it tightly around your main support columns to create built-in, premium scratching posts. This gives them a perfect spot for their natural scratching instincts and might just save your couch.
- Add Cozy Carpet Remnants: Use hot glue to attach a few small squares of carpet to different platforms. These create the perfect, plush napping spots for those all-important catnaps.
- Glue on Cork or Felt: For a different sensation under their toe beans, add patches of corkboard or soft felt. It’s like a sensory playground for their paws!
For another layer of fun, consider placing a standalone cat scratching ball near the base. It offers a completely different kind of scratching challenge they’ll love batting around.
Installing Five-Star Feline Amenities
Now, let's add the features that will make your cat tower the talk of the neighborhood. These little extras are what turn a simple structure into a truly interactive play zone.
Think about what really gets your cat’s tail twitching. Dangly things? Hidey-holes? The magical scent of catnip? We can add all of it.
A bored cat is an agent of chaos. By providing interactive elements and enrichment, you're not just building a tower; you're building a healthier, happier lifestyle for your feline friend.
Let's install some fun:
- Hang Some Dangly Toys: Securely tie feather wands or jingle balls to the undersides of platforms with sturdy string. Just make sure they're attached firmly so your kitty can't swallow them.
- Create Peek-a-Boo Holes: Use your heavy-duty box cutter to carve out some small, circular holes in the sides of any enclosed boxes. They're perfect for surprise pounces and a classic game of hide-and-seek.
- Install a Catnip Pouch: Sew a small fabric pouch, stuff it with fresh catnip, and glue it securely into a corner or hidey-hole for a delightful surprise.
For even more inspiration, check out our full guide to DIY cat enrichment ideas to keep your kitty purring.
And finally, Floofie’s number one tip: place a super-soft, folded blanket on the very top perch. It’s the ultimate throne for the king or queen of the castle. 👑
Floofie's Frequently Asked Questions 🤔
Got a few last-minute questions before you start building your cat's cardboard kingdom? Of course you do! Floofie and I have heard 'em all, so we put together a quick rundown of the most common worries.
Let's tackle these head-scratchers so you can get to building with complete confidence.
How Long Will a Cardboard Cat Tower Last, Really?
This is the big one, isn't it? Honestly, with solid construction—we're talking strong, double-walled boxes and smart reinforcement like layering and triangular braces—a cardboard tower can easily hold up for several months to a year. Sometimes even longer! It really just boils down to how many cats are launching themselves off it and their personal level of playful destruction.
A well-made tower isn't just a flimsy craft project. When you focus on a sturdy base and reinforce the key stress points, you're building a legitimate piece of cat furniture that can handle some serious kitty parkour.
And hey, the best part about a diy cat tower cardboard project is that you can do repairs! If a favorite scratching post gets absolutely shredded, just glue a fresh piece of cardboard right over top. Good as new.
Is Cardboard Safe for Cats to Chew On?
For the most part, yes! Most cats are more interested in shredding and tearing with their claws than actually eating the cardboard. As long as you're using plain, brown cardboard boxes without a ton of ink, dyes, or glossy coatings, it's perfectly safe for them to go to town.
It’s always a good idea to keep an eye on your kitty, though. On the off chance your cat is one of the rare few who decides to actually ingest the little cardboard bits, you'll just want to supervise their tower time a bit more closely.
Can a Cardboard Tower Actually Support My Cat?
You'd be shocked at how strong cardboard gets when you start laminating it (gluing multiple layers together) and adding structural supports. The trick is to build a wide, heavy base and use thick, reinforced columns to hold up the platforms.
Think about it: a single sheet of cardboard is flimsy, but glue three or four of those sheets together with non-toxic wood glue or craft glue, and you've basically created a solid plank. As long as you don't skimp on the reinforcement steps, your tower will be more than ready to handle even the chonkiest cat's midday nap.
Our head of quality control, Floofie, gives these sturdy builds two paws up! 🐾 Just make sure you give it a good "wobble test" before you officially declare it open for business.
Ready to spoil your furball with more than just a cardboard castle? FloofChonk is your one-stop shop for the coolest cat-themed apparel, quirky home decor, and toys that are actually fun. Come explore our collections and find something that makes both you and your cat purr! Check out all the goodies at https://www.floofchonk.com.