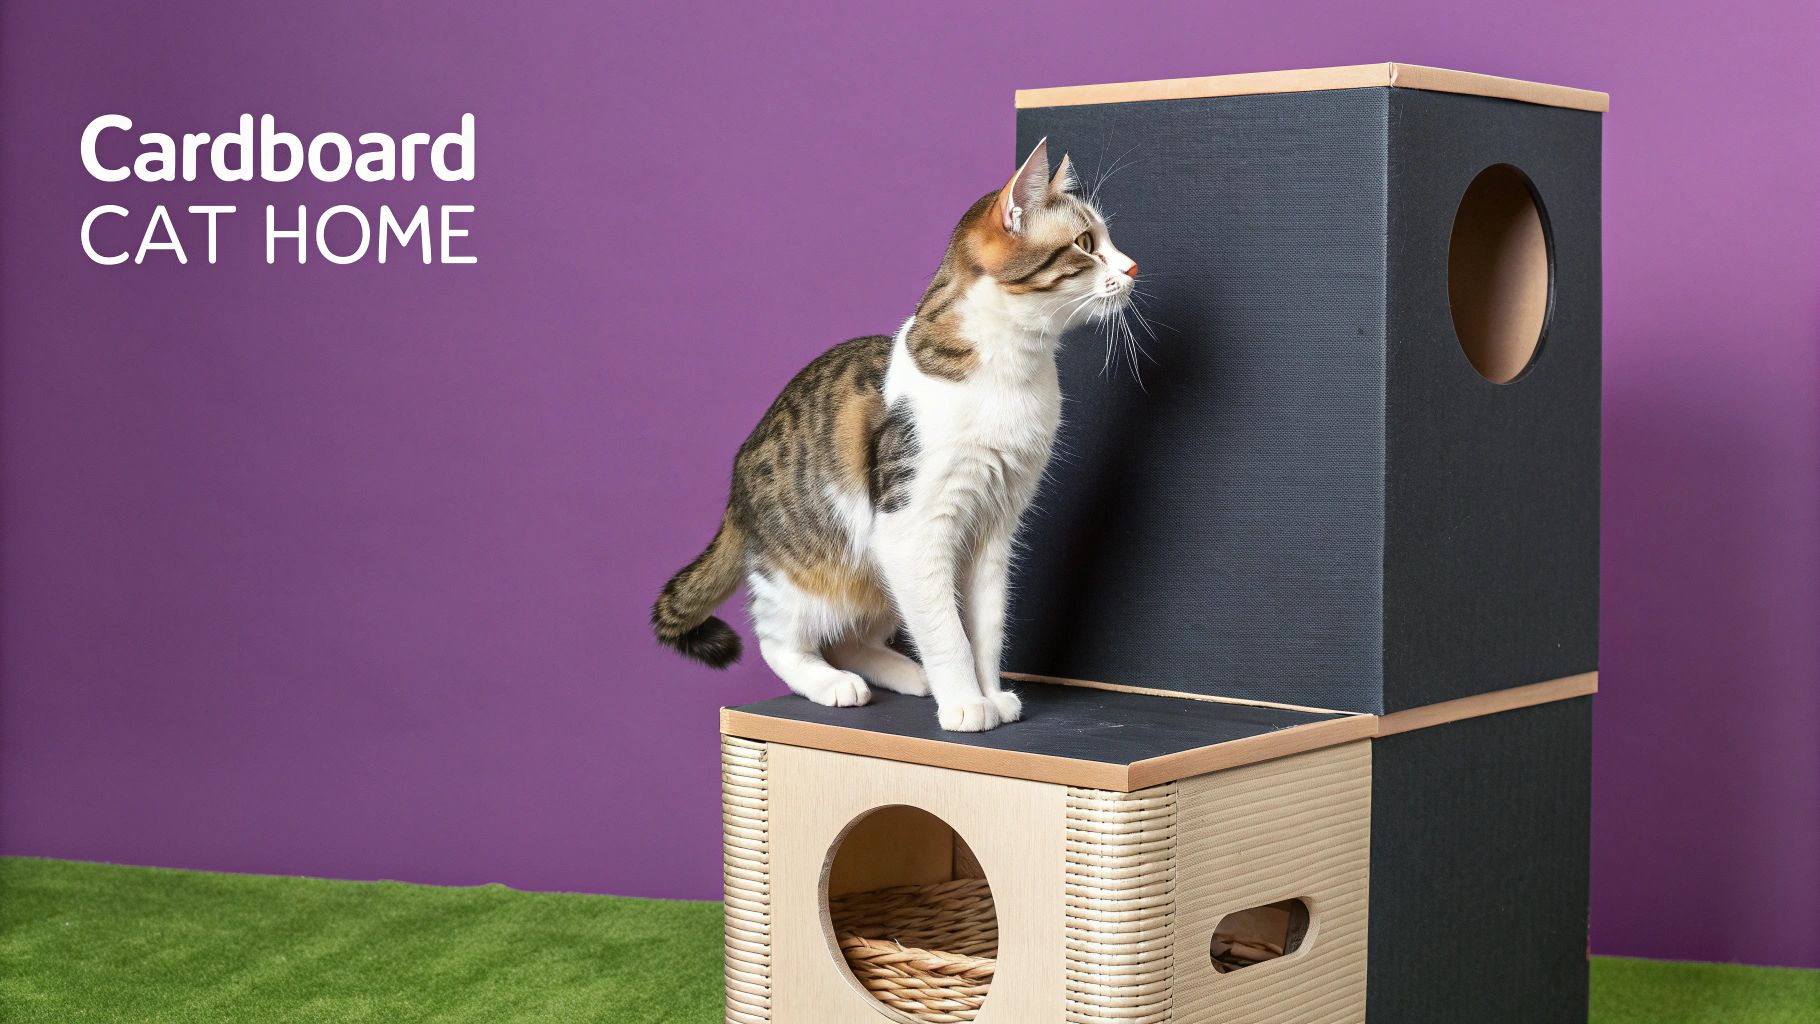
Cardboard Cat Furniture DIY Your Cat Will Love

Ever noticed how your cat will happily ignore that fancy, plush bed you bought them and immediately claim the cardboard shipping box it came in? 🤔 It’s a classic cat move, and there’s a good reason for it. Building your own cardboard cat furniture DIY style taps right into their most primal instincts. For a cat, cardboard offers the purrfect scratching surface, a cozy hideaway for naps, and the ultimate ambush spot for pouncing on your unsuspecting ankles.
Why Cardboard Is a Cat's Best Friend
It’s a tale as old as time: you buy a cool new gadget, and your kitty instantly claims the packaging. This isn't just your cat being quirky—it's pure feline science at play. Cardboard just speaks to a cat's soul in a way most expensive toys can't.
Our little mascot, Floofie, will tell you that a good box is a fortress, a spaceship, and a five-star hotel all rolled into one. Let’s break down this cardboard obsession, shall we? 😻
Tapping into Primal Instincts
At their core, cats are predators who also know they can be prey. An enclosed space, like a good old cardboard box, gives them a serious sense of security and a tactical advantage. It's the perfect hideout for stalking "prey" (like your feet) while feeling completely safe from view.
On top of that, corrugated cardboard is a fantastic insulator. It helps your cat maintain their body temperature, creating a warm, snuggly spot for one of their many, many daily naps.
Floofie's Fun Fact: A cat’s love for boxes is so strong that they'll often try to sit inside a 2D square taped to the floor! It just goes to show how deeply wired that desire for enclosed spaces really is.
More Than Just a Box—It's Enrichment
Building your own cardboard cat furniture is about more than just saving a few bucks; it's about giving your fur baby some much-needed mental and physical enrichment.
- Scratching Satisfaction: The texture of cardboard is absolutely irresistible for scratching. This natural behavior helps them shed the outer layers of their claws, stretch out their muscles, and mark their territory using the scent glands in their paws.
- Climbing Adventures: A multi-level cardboard creation encourages your indoor cat to climb and jump, keeping them active and engaged.
- Endless Entertainment: With a few peek-a-boo holes, tunnels, and multiple chambers, a simple set of boxes becomes an interactive playground.
The demand for products that meet these needs is massive. In fact, the global market for cat furniture and scratchers is projected to hit USD 1,152.36 million by 2028. Cardboard options are a super popular, budget-friendly way to keep your cat happy without breaking the bank. You can read more about the growing cat furniture market insights to see just how much people love spoiling their pets!
This eco-friendly approach turns your recycling bin into a treasure chest of possibilities. For more inspiration on sustainable kitty spoiling, check out our guide to https://1qkac5-d7.myshopify.com/blogs/floofies-blog-posts/top-eco-friendly-cat-themed-gifts.
Gathering Your Essential Building Supplies
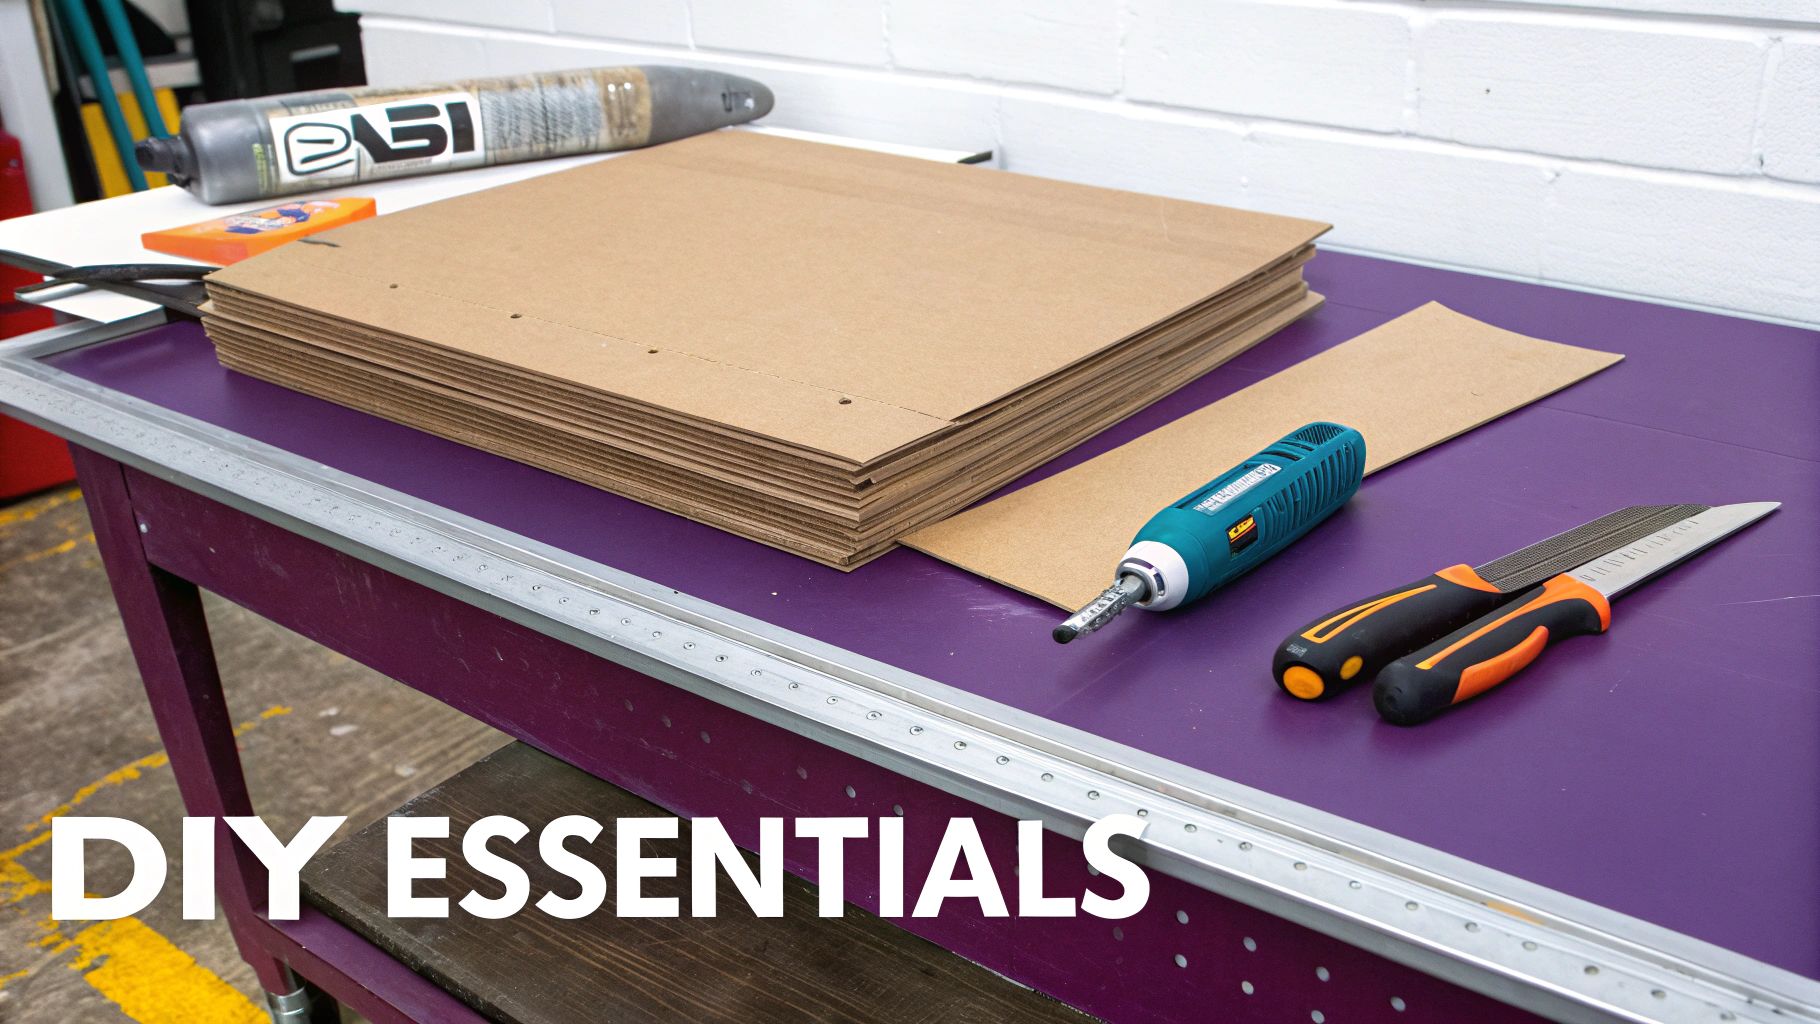
Alright, creative cat paw-rent, it's time to assemble your toolkit! Before you start building a cardboard kingdom fit for Floofie, let's gather all the goodies you'll need. Don't worry, you won't need a fancy workshop—just a few key items to turn that pile of recycling into a feline architectural masterpiece. 🛠️
The most important ingredient is, of course, cardboard! But not all cardboard is created equal. You’ll want to find corrugated shipping boxes, as their layered structure provides the strength needed to withstand epic zoomies and vigorous scratching sessions. The thicker, the better!
You can often find high-quality boxes for free. Try asking local grocery stores, appliance retailers, or even your workplace. Just make sure to remove all staples, shipping tape, and plastic bits before you hand them over to your furry inspector.
Your Core DIY Toolkit
Once you've got a solid stash of cardboard, you'll need a few tools to bring your vision to life. Safety is the name of the game here, both for you and your kitty.
- A Sharp Cutting Tool: A good box cutter or craft knife is your best friend for clean, precise cuts. Always, always cut away from your body and consider wearing protective gloves.
- A Sturdy Ruler or Straightedge: A metal ruler gives you the straightest lines and won't get nicked by your blade like a plastic one might.
- A Cutting Mat: This is a lifesaver. A self-healing cutting mat will protect your floors and tabletops, and it also helps grip the cardboard to prevent slips.
- Cat-Safe Adhesive: This is non-negotiable! Standard craft glues can contain toxic chemicals. Always opt for non-toxic, water-based PVA glue (like Elmer's School Glue) or a hot glue gun with non-toxic glue sticks.
Floofie's Purrfect Tip: When using hot glue, apply it to the joints and press firmly for a few seconds. It creates a super-strong bond almost instantly, so you don't have to wait for it to dry before moving on to the next step! Me-wow! 🐾
What to Avoid in Your Build
Just as important as what you use is what you don't use. Floofie insists on the highest safety standards for his cardboard castles, and your cat should too! Steer clear of these items to keep your project fun and hazard-free.
Avoid materials like strong chemical adhesives, paints with VOCs, small plastic decorations that could be chewed off, or metal fasteners like staples and paper clips. These can all pose serious choking or toxicity risks.
Here's a quick guide to the essential and optional items for your project. We've included tips on choosing the safest and most durable options for your furry friend.
Your DIY Project Shopping and Scavenger List
| Item | What to Look For | Floofie's Pro Tip ✅ |
|---|---|---|
| Cardboard | Thick, corrugated boxes (double-wall is a bonus!) | Appliance stores often have the biggest and best boxes. |
| Cutting Tool | A sharp box cutter or craft knife with a fresh blade. | A fresh blade makes cutting easier and safer—no snagging! |
| Measuring Tool | A metal ruler or yardstick. | A T-square can help you get perfectly perpendicular cuts. |
| Adhesive | Non-toxic PVA glue or non-toxic glue sticks. | Use hot glue for structure and PVA glue for laminating layers together. |
| Optional: Toys | Sisal rope, feather toys, jingle bells (sewn securely). | Tightly wrap sisal rope around a cardboard leg for a built-in scratcher. |
| Optional: Comfort | Old t-shirts, fleece blankets, or other soft fabrics. | No-sew fleece blankets are easy to make and fit perfectly inside cubbies. |
When in doubt, keep it simple. Sticking to the basics ensures your cat will have a safe place to play, scratch, and lounge for a long time to come.
With your supplies ready, you're all set to become the master architect your cat always knew you were!
Your First Project: A Simple Cardboard Cat Condo
Alright, are you ready to turn that stack of cardboard boxes into a palace worthy of your feline overlord? Let's dive into your very first cardboard cat furniture diy project: a simple, stylish, and surprisingly sturdy cat condo.
Don't worry about complicated blueprints or confusing instructions. We're going to tackle this together, one step at a time. It’s easier than you think!
Our own mascot, Floofie, has personally crash-tested this design and given it two paws up for both nap-ability and pounce-worthiness. The real secret here isn't just glue; it's some clever, simple engineering. We'll be creating strong, interlocking joints that make the whole structure incredibly robust.
This visual guide breaks down the basic workflow for pretty much any cardboard creation you can dream up, from measuring your pieces to adding the final touches.
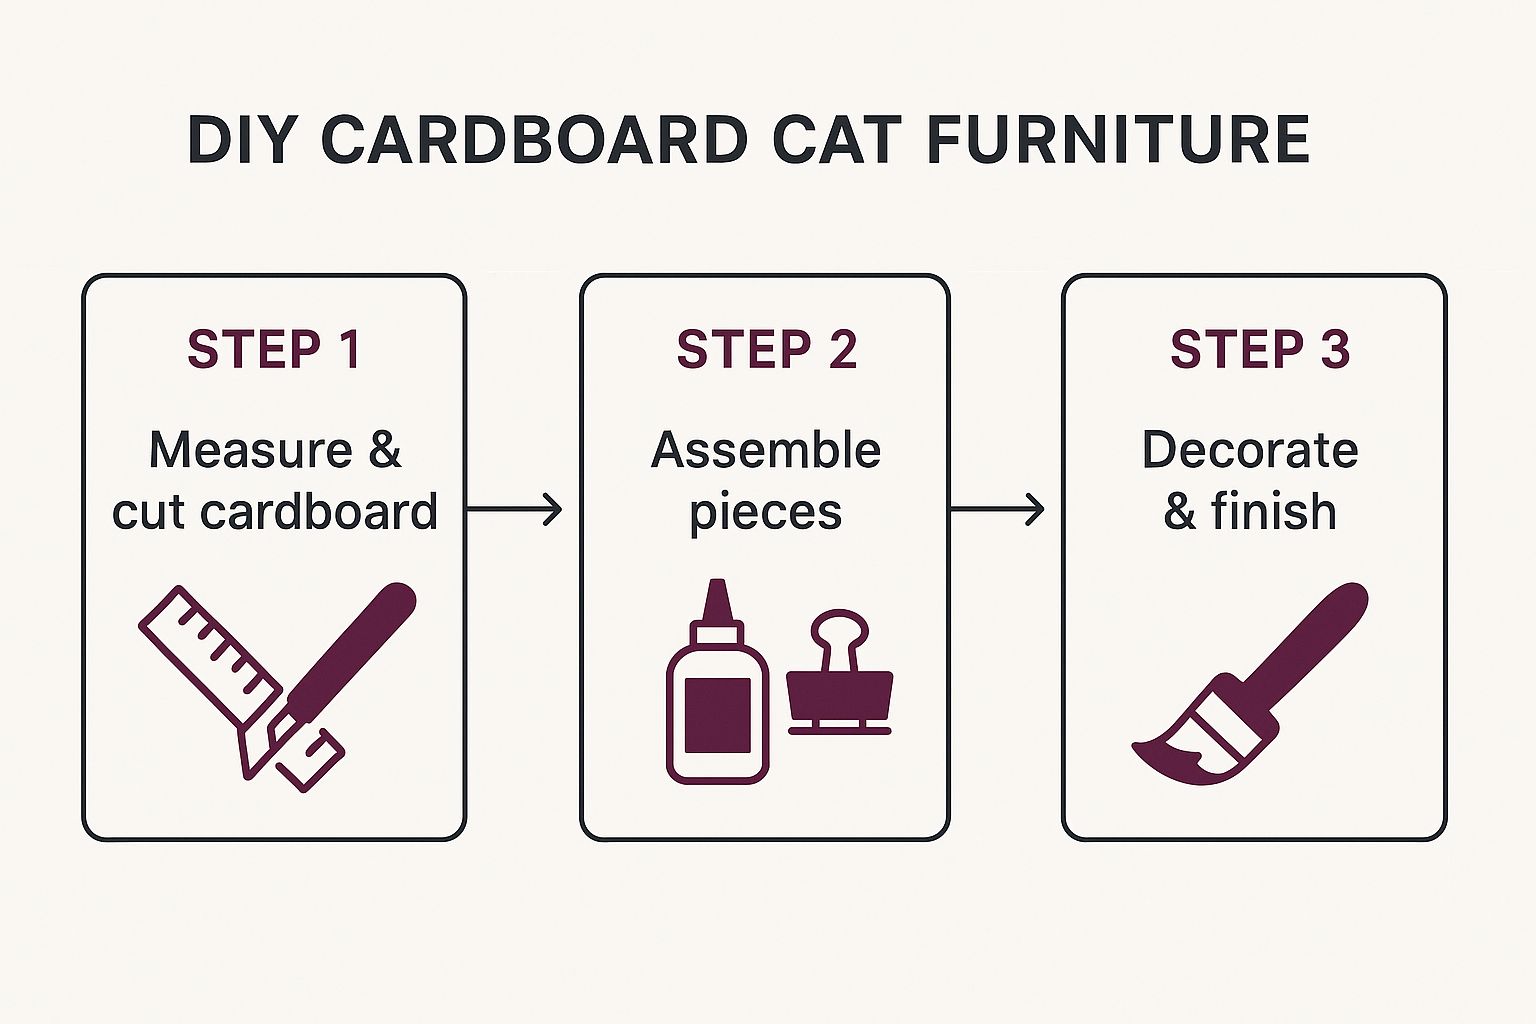
This process really boils down to three core actions, which helps keep things organized and ensures you end up with a safe, fun piece of furniture for your cat.
Measuring and Cutting Your Condo Pieces
Precision is your best friend for this part. Grab a metal ruler and a sharp box cutter or craft knife. For a basic two-story condo, you'll need a bunch of identical pieces to form the walls and floors.
A great starting size is 12x12 inch squares, but feel free to adjust this based on the size of your cat (and the amount of cardboard you’ve managed to hoard).
Let’s get cutting! Here’s your shopping list:
- Four (4) squares for the main exterior walls of the bottom level.
- One (1) square for the roof of the bottom level (this will also be the floor of the top level).
- Four (4) squares for the walls of the top level.
- One (1) square for the very top roof.
Now for the fun part. On two of your bottom-level wall pieces, trace and cut out a doorway. Go wild with the shape—an arch, a circle, or even a cat head silhouette! Just make sure it’s big enough for your cat to saunter through without any trouble.
The Magic of Interlocking Tabs
This is where we get smart with the design and ditch the need for tons of glue. Interlocking tabs create joints that are incredibly strong and can handle even the most dramatic case of the zoomies.
To make them, you'll cut slits into the edges of your cardboard pieces where they need to connect.
Imagine two pieces of cardboard meeting at a right angle. On one piece, you'll cut a slit halfway through its width, starting from the top edge and going down. On the piece it connects to, you'll cut a matching slit, but this time from the bottom edge going up. When you slide them together, they lock into place. It’s like cardboard magic! ✨
Floofie’s Top Secret: For maximum stability, alternate the direction of the corrugation (the little wavy lines inside the cardboard) on connecting pieces. This creates a much stronger, more rigid structure that won't wobble when your cat makes a flying leap onto the roof.
Assembling Your Feline Fortress
Let's start with the base level. Take your four wall pieces and use the interlocking tab method to connect them into a box shape. You should have two walls with doorways and two solid walls.
Next, slide the floor/roof piece for the second level into place, making sure it fits snugly. If you want some extra reinforcement, a small dab of non-toxic hot glue on the inside joints works wonders.
Now, just repeat the process for the second story by connecting the four walls. Before you put the final roof piece on, cut a hole in the center of the second-story floor. This gives your kitty a cool way to climb up from the first level to the second.
Finally, place the top roof piece on and secure it. That's it—you've just built a condo!
For a more detailed walkthrough with extra photos and some fun design ideas, check out our complete guide on how to build the ultimate DIY Cat Condo. You now have the foundational skills to tackle even bigger and bolder cardboard builds. Go you! 🥳
Creative Designs From Scratch Pads to Epic Forts

Alright, you've mastered the basic cardboard condo. Me-wow! 🥳 Now it's time to let your inner artist and architect really shine. This is where your cardboard cat furniture diy skills get a serious upgrade. We’re moving beyond simple boxes and into the world of epic forts, sleek loungers, and interactive playgrounds that’ll make your cat the envy of the neighborhood.
Our mascot, Floofie, is a huge fan of variety. One day he’s all about a cozy hideaway, and the next he needs a multi-level fortress for surveying his kingdom (a.k.a. your living room). Let's dig into some fun ideas that will keep your furry overlord endlessly entertained and look surprisingly chic in your home.
The Modern Cat Lounger
Who says cardboard can't be stylish? With a bit of creativity, you can craft a sleek, modern lounger that actually complements your home decor. The secret here is lamination—gluing many layers of cardboard together to create a solid, curved, and scratch-friendly form.
It's easier than it sounds:
- Create a Template: First, draw a gentle, curved shape on a piece of cardboard. Think of a shallow "S" curve or a simple wave. This will be your master pattern.
- Trace and Cut: Now for the tedious part. Trace this shape onto dozens of pieces of corrugated cardboard and cut them all out. Pop on a podcast; it helps!
- Laminate and Press: Using non-toxic PVA glue, coat one side of each cardboard piece and stack them all together. Once it's assembled, pile some heavy books on top and let it dry for at least 24 hours. What you get is a super-sturdy, scratchable lounger your cat will absolutely adore.
This trend of stylish pet furniture isn't just a niche hobby; it's a massive market. The global demand for cat furniture that blends aesthetic appeal with function is booming. In 2024, the market was valued at around USD 1.2 billion and is projected to more than double to USD 2.5 billion by 2033. Your DIY projects are part of a huge trend!
Building an Epic Multi-Story Fort
Ready for a bigger challenge? Let's build a fort. When designing more elaborate cat forts, a basic grasp of the principles of effective space planning can help you create something that's both fun for your cat and doesn't completely take over your living space.
Think about adding multiple levels with cutouts for climbing, ramps for easy access, and tiny "peek-a-boo" windows for stalking. You can connect different box "rooms" with tunnels made from rolled-up cardboard. Floofie's personal favorite is the 'Scratch-n-Slide Ramp'—a simple slanted piece of cardboard with strips of grippy material glued on for better traction.
Floofie's Fort-Building Tip: Don't forget the fun extras! Dangle a feather toy from a "ceiling," create a cozy nook by lining a box with an old t-shirt, or hide a small pouch of catnip in a secret compartment for a delightful surprise. 🌿
Adding Interactive Elements
A truly great piece of cardboard cat furniture is more than just a place to sleep; it's an interactive toy. Weaving in play elements is a fantastic way to provide crucial mental stimulation and encourage your cat to stay active and engaged.
Consider cutting different-sized holes in a wall to create a built-in puzzle feeder—just drop some treats inside and let your cat fish them out. You can also attach sisal rope to various surfaces to create durable, satisfying scratching posts.
For even more ideas on keeping your indoor cat entertained, check out our guide on the top interactive cat toys for indoor cats. Many of these concepts can be easily adapted to your cardboard creations, turning a simple box into an exciting adventure zone.
Important Safety Checks for Your DIY Creation
Building a cardboard masterpiece is a total blast, but we've got to follow Floofie's number one rule: safety first! Before your kitty starts their zoomie-fueled inspection, let's run through a few essential checks to make sure your creation is as safe as it is fun.
A happy project is a hazard-free project, after all. 😼
First things first, let's do a thorough material audit. You'll want to scrutinize every piece of cardboard for any stray staples, bits of plastic tape, or sticky shipping labels. Curious cats are notorious for chewing on things they shouldn't, and these little bits can pose a serious choking risk.
What you add to the project is just as important. Your cat will likely chew, lick, and rub all over their new furniture, so every single component must be completely non-toxic.
Avoiding Nasty Toxins
Cats are sensitive little creatures, and many common craft supplies can be surprisingly harmful. Here’s a quick "naughty list" to keep in mind, along with some purr-fectly safe alternatives.
- Glues and Adhesives: Stick to non-toxic, water-based PVA glue (your basic school glue works great) or a hot glue gun with non-toxic glue sticks. Steer clear of industrial-strength glues that can release nasty fumes.
- Paints and Finishes: If you want to add a splash of color, only use paints certified as non-toxic and free of VOCs (Volatile Organic Compounds). Water-based acrylics are usually a good bet, but always double-check the label.
- Decorative Items: Say no to small, dangly bits like beads, sequins, or googly eyes. They can be pulled off and swallowed in a heartbeat. Instead, think about natural, cat-safe materials like sisal rope or undyed wool felt for that extra flair.
Structure, Stability, and Sharp Edges
Okay, now that your materials are cat-approved, let's talk about the build itself. A wobbly tower is just an accident waiting to happen, especially when a cat launches itself at it mid-zoomie!
Give your creation a good push from all sides. Does it tip over easily? If so, you might need to widen the base or add some interior supports to beef up its stability. A well-built piece of cardboard cat furniture should feel solid and secure.
Floofie’s Final Check: Run your hand along all the cut edges and corners of your project. If you feel any sharp or rough spots, just gently sand them down with a small piece of fine-grit sandpaper. This will help prevent any unexpected pokes or paper cuts.
Keeping these safety tips in mind ensures your DIY project will provide endless hours of safe, happy fun for your furry friend. And you're part of a growing trend! The cat furniture market is expected to rocket to USD 2.8 billion by 2035, all thanks to loving pet owners who want safe, functional, and stylish options for their furry family members. You can discover more insights about the booming cat furniture market right here.
Now, let the fun begin! 🎉
Got Questions About Your Cardboard Cat Castle?
So, you're about to dive into the world of cardboard cat furniture, but a few questions are holding you back. Don't worry, that's completely normal! Our head product tester, Floofie, has heard them all. Let's get them answered so you can start building. 🐾
How Do I Keep My Cardboard Creation From Getting Wrecked Immediately?
This is the big one, right? While cardboard isn't exactly built to last forever, you can definitely extend its lifespan beyond a few frantic play sessions. The secret is all about reinforcing the right spots.
Think about the high-traffic areas—like the floors of a multi-level tower or the main scratch-pad surfaces. You can make these surprisingly tough by laminating them. Just glue several layers of cardboard together to create a dense, super-strong block that can take a real beating from even the sharpest murder mittens.
Another pro tip? "Waterproof" the base. A simple layer of clear packing tape or a coat of cat-safe, non-toxic sealant on the bottom can save your creation from the occasional spill or wet paws.
Help! My Cat Is Completely Ignoring My Masterpiece.
Ah, the classic feline snub. You spend hours building the perfect fort, only for them to give it a suspicious sniff and walk away. First off, don't take it personally! Cats are naturally wary of new things in their territory. It just needs a proper, cat-approved introduction.
Try a few of these Floofie-tested tactics to win them over:
- The Catnip Bribe: A generous sprinkle of high-quality catnip inside the structure is almost always a game-changer. It makes the new spot instantly intriguing.
- Make It Smell Like Home: Tuck their favorite blanket or a beloved toy into one of the cubbies. A familiar scent makes a new space feel safe and inviting.
- Integrate It with Playtime: Grab a wand toy and entice your kitty to chase it in, out, and all around the new furniture. This helps build a positive association with fun and excitement.
Floofie’s Two Cents: “Listen, my hoomans get this wrong all the time. We cats work on our own timeline. A little patience goes a long way. But also, a trail of treats leading inside usually speeds things up. Just sayin’.” 🌿
Is It Actually Safe for My Cat to Chew on Cardboard?
It's a totally fair question. We all know cats love to nibble and tear at their cardboard toys, and for the most part, it’s completely fine. The fiber is digestible in small quantities and usually just passes right through their system without any issues.
The real key is making sure the cardboard itself is clean. Stick to plain brown boxes that don't have glossy coatings, heavy inks, or plastic layers. Most importantly, never use a box that might have been exposed to chemicals, oils, or cleaning supplies.
And, like we mentioned earlier, always, always, always remove every last staple, bit of tape, and shipping label before you even think about handing it over to your cat. If you do notice your cat is eating large pieces of cardboard instead of just shredding it, it's probably a good idea to have a quick chat with your vet.
Ready to take your cat’s playtime to the next level? Explore the amazing toys and accessories at FloofChonk. From our futuristic UFO Smart Interactive Cat Toy to our endless collection of goodies, we’ve got everything you need to spoil your furry best friend rotten.