
8 DIY Cat Bed Ideas Floofie Loves for Cozy Naps

Your cat ignores the fancy bed, then claims the delivery box? 😹 Keep that cardboard close. Floofie, our resident mascot and chief nap inspector, approves of a cozy nook, and these DIY cat bed ideas make everyday materials nap-ready without a craft room or upholstery skills.
Choose a fleece nest, sweater-lined basket, or furniture-friendly cubby, then add a cat-themed finishing touch from FloofChonk's home décor and pet-product selection. Each project includes materials, difficulty, a qualitative time estimate, and clear steps, so you can pick a build that suits your space and crafting mood.
Comfort counts: adult cats generally sleep 12–16 hours daily, according to PetMD's guide to feline sleep. Make the bed easy to enter, simple to clean, and suited to the surfaces your cat already chooses.
- For the box enthusiast: Start with the cardboard nook.
- For the dedicated curler: Try the fleece donut or sweater basket.
- For the room supervisor: Choose a stable crate, cubby, or properly installed window perch.
Floofie gives every build an enthusiastic paw-approval, but your own cat has the final vote. 🐾
1. Cardboard Box Cozy Nook 📦🐾
The cardboard box from your latest delivery can become your cat's favorite hideaway. Give it a low entrance, a washable lining, and a removable cushion. Floofie approves this budget-friendly little den. 😻
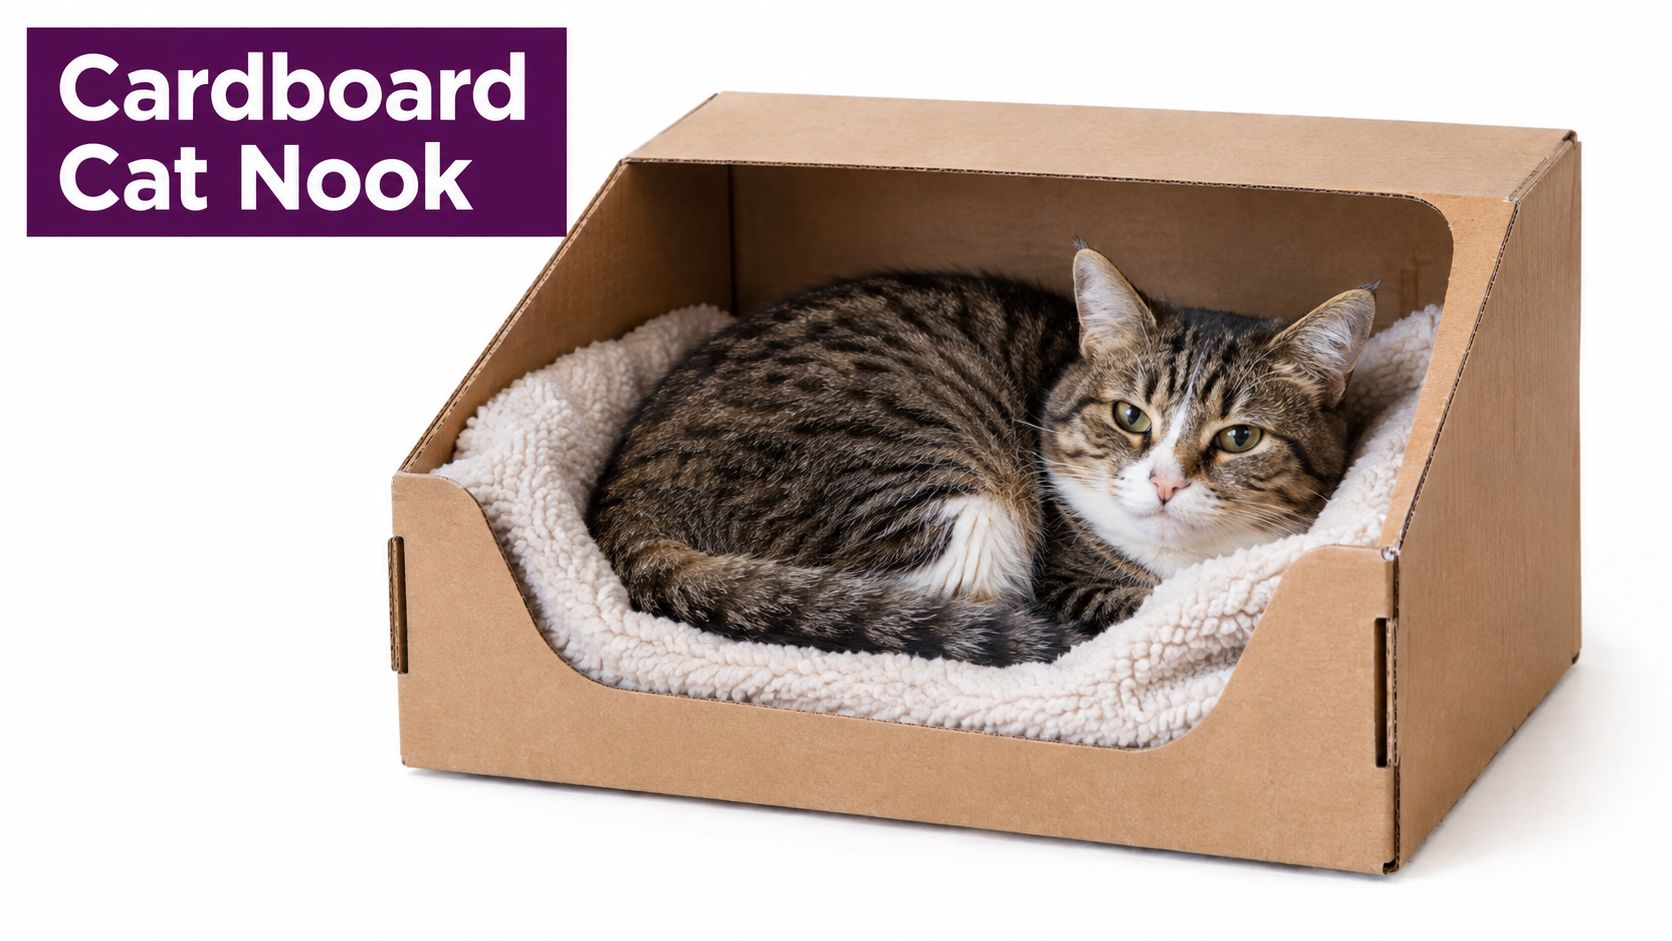
Materials: Clean, sturdy cardboard box, scissors or craft knife, cutting mat, washable towel or fleece, and a removable cushion.
Difficulty: Beginner.
Time: A quick craft session, plus time to wash and dry the bedding.
Turn Packaging Into a Private Nest
- Prepare the shell: Remove staples, loose tape, plastic labels, and damaged cardboard. Pick a box with enough room for your cat to turn around and stretch.
- Cut the entrance: Lower the front wall and smooth any rough edges. Keep the opening easy to step through, especially for kittens or cats with limited mobility.
- Add washable comfort: Place a towel on the bottom, then set in a cushion that lifts out easily without pulling at the walls.
- Choose the location: Set the nook near a spot your cat already likes, away from spills and busy walkways.
Try it beside your reading chair, with the entrance facing the room. Your cat gets a sheltered retreat without being hidden behind furniture.
Floofie's paw-approval: Maximum packaging chic, minimum crafting drama. For a polished finish, pair the nook with a cozy detail from your home, and use this comfortable cat bed guide to choose a suitable cushion by comfort and fit, not looks alone.
Keep food and water outside the box. Replace the cardboard if it gets damp, dirty, chewed, or unstable. A clean, dry nook is a much better nap spot.
2. No-Sew Fleece Donut Bed 🍩
For a cat who curls up like a cinnamon roll, roll a washable fleece blanket around a flat, removable center. Keep the design simple: no exposed stuffing, loose ties, or decorative fringe for curious teeth to investigate.
Materials: Washable fleece blanket, finished cushion or folded towel, and an optional removable pillowcase.
Difficulty: Beginner, with careful tucking.
Time: A short folding session, followed by a supervised trial.
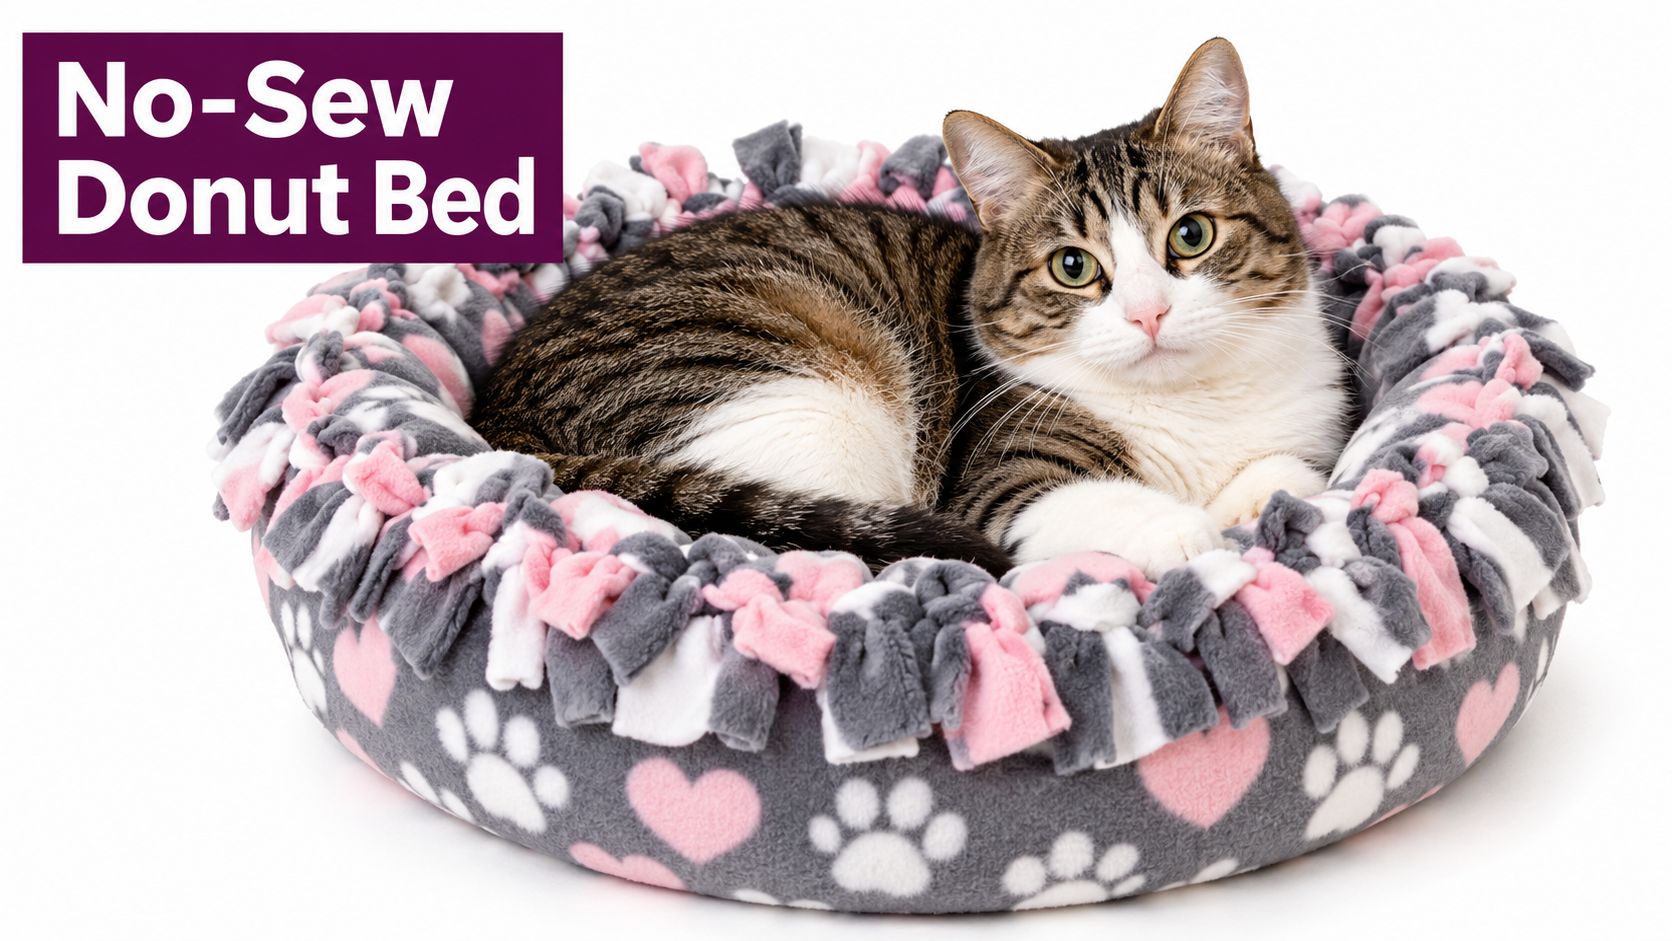
Roll, Tuck, and Test
Lay the cushion in the middle of the fleece, then roll the fabric around it to form a soft bolster. Leave a broad, flat sleeping area so your cat can stretch out instead of sinking into a deep fabric ring.
Tuck the blanket ends firmly beneath the cushion. Give the ring a gentle tug. If it starts to unravel, make a flat mat instead of adding dangling ties or loose filling.
- Keep the center removable: A washable pillowcase makes refreshing the insert easier.
- Adjust the warmth: Fold back some fleece if your cat prefers a cooler surface.
- Check the folds: Put the bed away if your cat pulls the fabric apart or chews it.
A cat who rejects a plush bed may prefer a flatter, cooler place to nap. The observational research on temperature-dependent bed acceptance highlights how context can affect where cats settle.
Floofie approves this donut, minus dangling decorations. 🍩 Pair the bed with a coordinating throw nearby, and keep decorative extras out of the sleeping area unless they're suitable for your cat.
3. Upcycled Wooden Crate Bed 🪵
A sturdy fruit crate can become a charming nap spot beside your desk or sofa. Choose one with a clean history and smooth, sound boards. Skip any crate with chemical odors, unknown residue, splinters, or exposed fasteners.
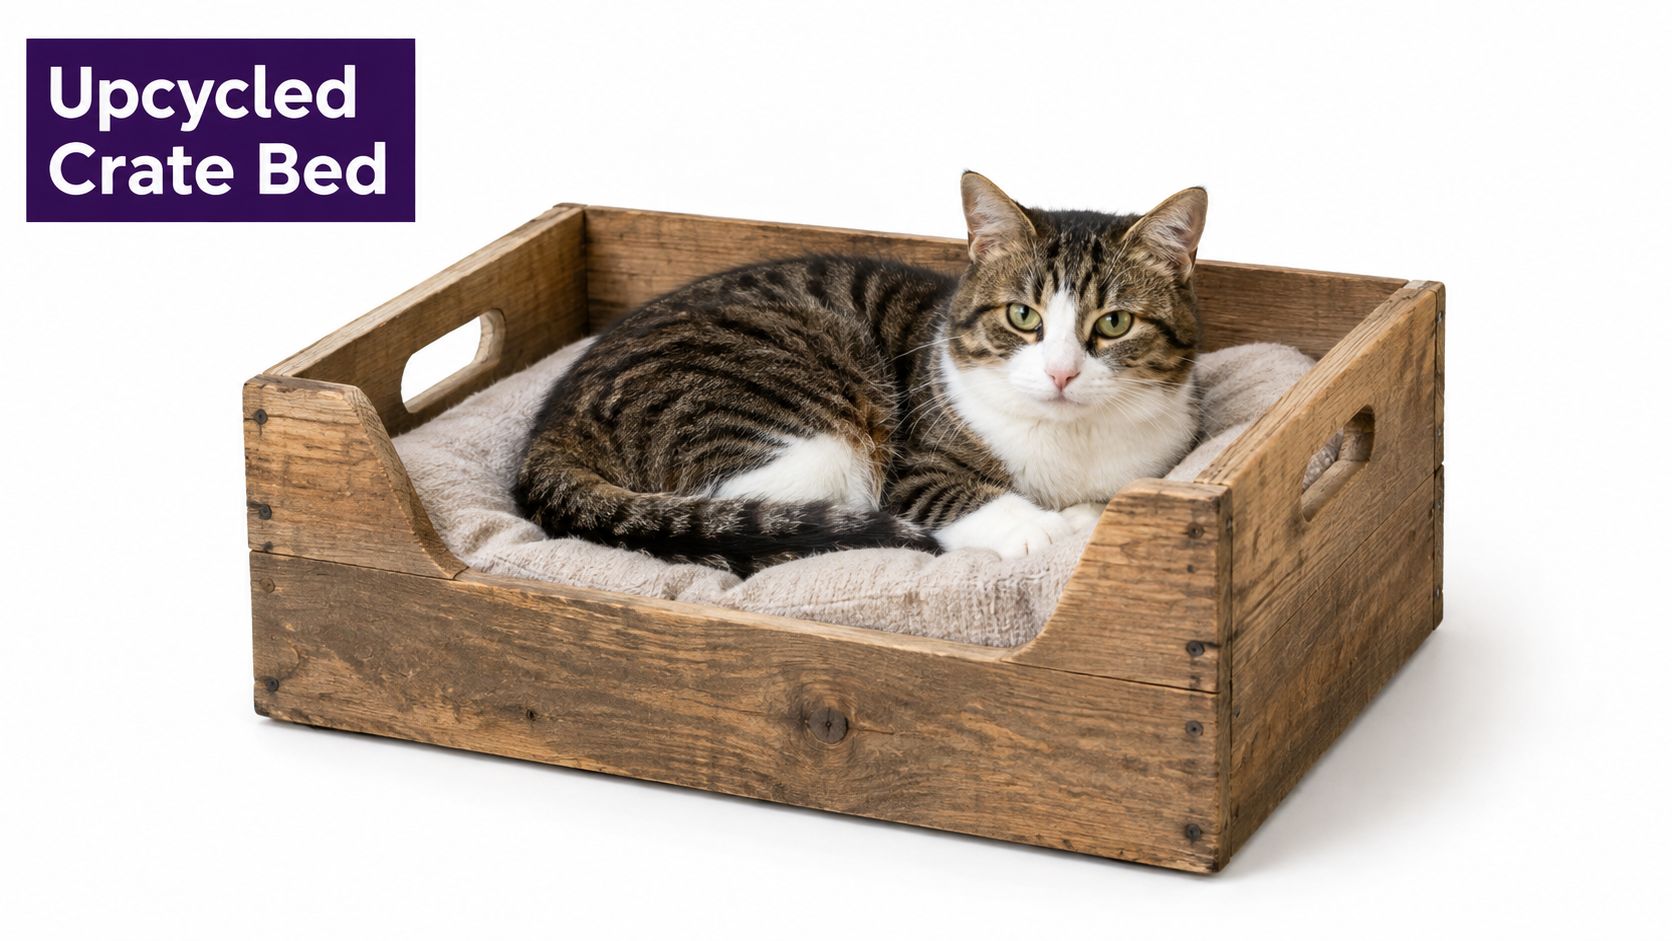
Materials: Sound wooden crate, sandpaper, tools for removing hardware, washable cushion, and non-slip backing.
Difficulty: Intermediate preparation, simple assembly.
Time: An unhurried workshop session, plus drying time if you clean the crate.
Build a Stable Little Throne
- Inspect every surface: Check the base, interior, and corners for weak boards or protruding nails. Remove hardware safely, and reject cracked or unstable wood.
- Sand smooth: Focus on the entry, corners, and edges your cat may brush against. Wipe away all sanding dust before adding bedding.
- Make entry easy: Choose a crate with a low opening, so your cat can step in without climbing over a tall panel.
- Fit the cushion: Use a removable insert that leaves room for your cat to stretch, turn, and settle.
The user-centered cat-bedding study supports choosing breathable, smooth, washable fabrics and avoiding loose filament mesh that can catch claws. Apply that advice to the cushion; shaggy scraps can snag, shed, and make cleaning harder.
Start with the crate open-topped. A roof adds work and makes the bed harder to clean, while a floor-level spot beside your home-office desk gives your cat a cozy alternative to your keyboard.
Floofie approves this rustic loaf station. 🐾 For a coordinated room setup, take ideas from this modern wood cat tree guide. Keep the crate on a stable surface, and never stack unsecured crates to imitate a tower.
4. IKEA KALLAX Cubby Bed Hack 🛏️
A quiet corner and an open KALLAX cubby can turn furniture you already own into a tidy little nap nook. Keep the dividers intact. This build is about choosing a fitted cushion, adding a washable cover, and making the space inviting, not rebuilding the shelf.
Materials: Sound IKEA KALLAX unit, manufacturer-specified anchoring hardware, fitted cushion, washable cover, and non-slip liner.
Difficulty: Beginner for the insert; competent installation required for anchoring.
Time: A relaxed setup session once the unit is safely secured.
Follow the manufacturer's assembly and wall-anchoring instructions before setting up the bed. Don't cut panels or remove dividers. Skip a window-facing platform unless it has a properly engineered plan.
Make the Cubby Comfortable
- Choose an easy entrance: A lower cubby works well for a cat who needs a low step in. Keep the approach clear of baskets, cables, and furniture.
- Fit washable bedding: Choose an insert that lies flat and lifts out easily for laundering.
- Keep the front open: Leave airflow unobstructed instead of adding a heavy door or curtain.
- Store household items safely: Keep cleaning products, breakables, and tempting cords out of neighboring cubbies.
In a small apartment, one lower cubby can hold the cat's bed while nearby compartments store everyday items. Set the unit where your cat can watch the room without being tucked beside a busy doorway.
Sharing rule: Give every cat access to resting places elsewhere, too. Side-by-side cubbies don't replace separate retreat options.
Multi-cat homes call for a little extra thought, as the report on U.S. cat-ownership trends underscores. Set up the cubby for the cats who live with you, rather than copying a furniture photo. Floofie gives this cozy, uncluttered shelf-bed a paws-up. 😻 Add a soft cushion and washable cover, and keep the sleeping nook simple.
5. Old Sweater Basket Bed 🧶
A clean sweater, a steady basket, and a quiet corner make a soft little retreat from clothes your cat should no longer share with you. Choose a tightly knitted garment with no loose yarn, buttons, zippers, or decorative attachments. Floofie gives this simple upcycle a paw of approval. 🐾
Materials: Stable, low-sided basket or tub, washable cotton sweater or fleece, folded towel, and non-slip mat.
Difficulty: Beginner.
Time: A quick assembly project after laundry.
For a bedroom reading corner, pick a broad basket that stays level when you press near its rim. Skip rocking bowls, damaged weave, and any protruding ends. Set the basket on a non-slip mat so it stays put when your cat climbs in.
Fold a Nest That Comes Apart Easily
Lay the folded towel across the basket bottom as an even base. Spread the sweater over it, fold the sleeves underneath, then tuck the extra fabric around the sides. Leave no loops for paws or claws to catch.
Keep the center roomy and the entrance low. Your cat should be able to step in, turn around, and leave without scrambling through fabric.
- Check the garment: Gently stretch the knit and inspect it for loose strands. If it sheds or unravels, use a smooth towel instead.
- Make washing simple: Keep the sweater separate from the basket base, so you can lift it out without dismantling the bed.
- Watch chewing behavior: Skip fabric bedding for a cat who pulls off and swallows fibers. Remove damaged material promptly.
Give the bed a calm spot away from the washing machine. A peer-reviewed veterinary study of feline sleep conditions associated greater noise with less sleep and dim lighting with a greater likelihood of sleep. Keep the setup simple, and wash the sweater as needed.
Floofie approves this knit-and-nap nook. 🧶 For a store-bought finish, add one coordinated cat-themed accent nearby. Keep decorative objects out of the basket, where they can crowd the sleeping space.
6. Window Hammock Perch Bed 🌤️
Set up a sunny bird-watching spot with a purpose-built, load-rated perch frame. Make the washable sleeping surface your DIY contribution, and leave improvised suction cups and mystery hardware out of the build.
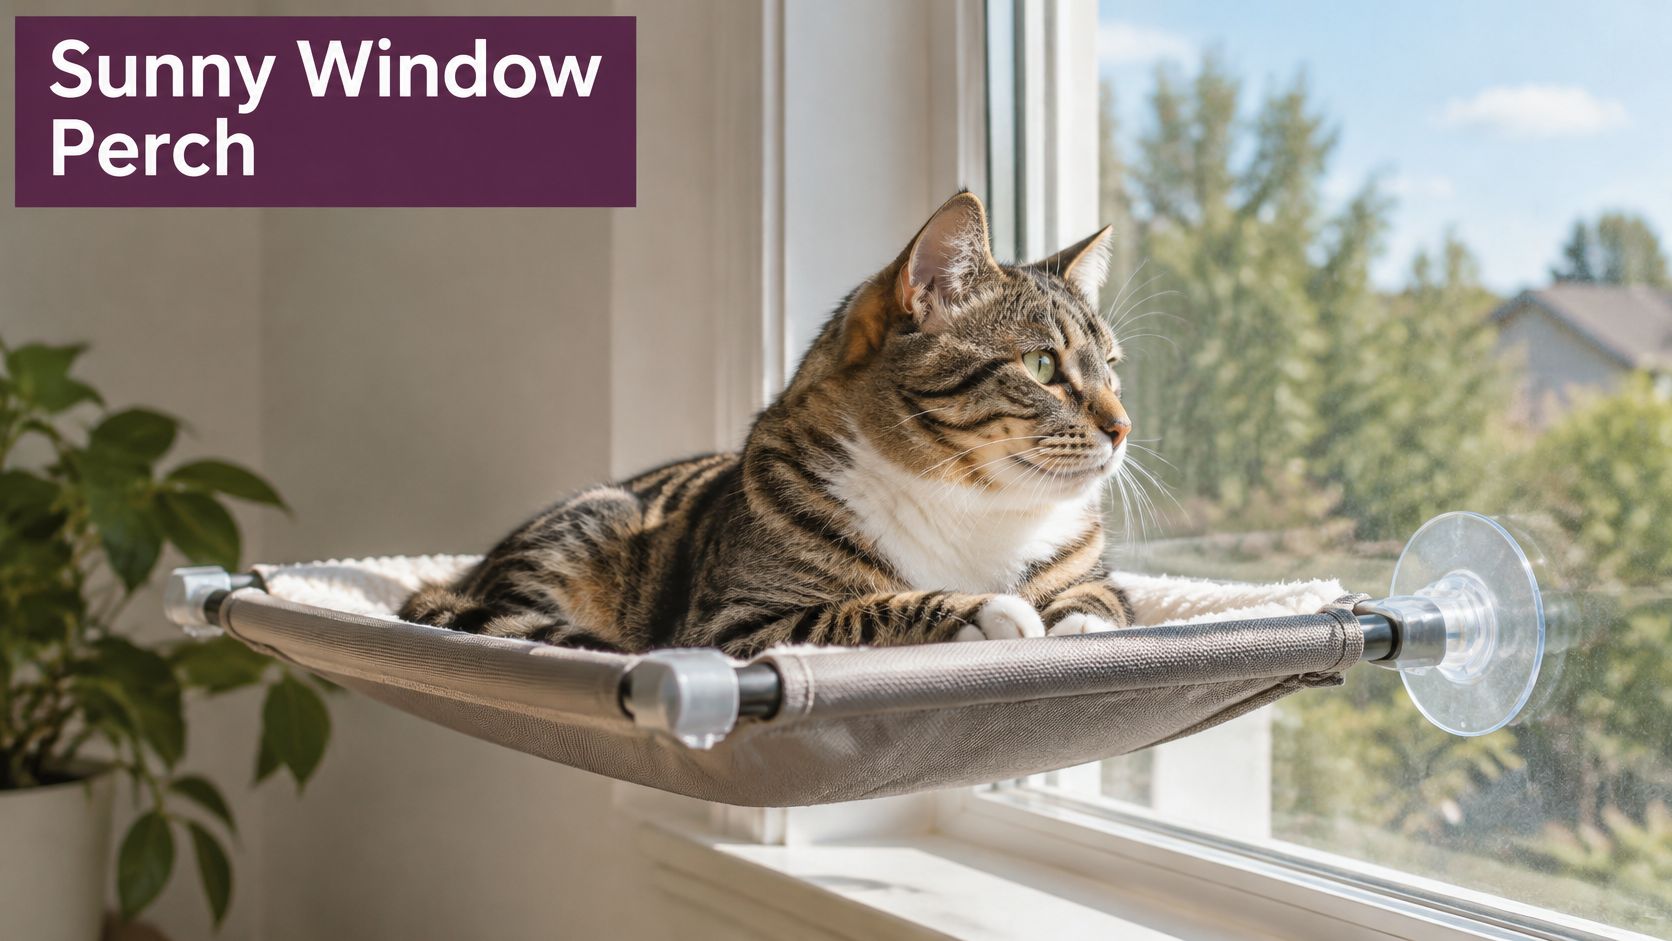
Materials: Rated window-perch kit, compatible washable fabric cover, measuring tape, and the manufacturer's installation supplies.
Difficulty: Intermediate installation and fabric fitting.
Time: A careful installation session, followed by supervised testing.
Let the Rated Frame Do the Heavy Lifting
Choose hardware designed for your cat and your window. Check that the perch suits your cat's weight, the glass or mounting surface, and the position you plan to use. Follow the manufacturer's installation steps exactly, including any preparation instructions. Don't replace parts with household hooks or guess at substitutions.
Fit the cover without changing the frame or suspension. Keep the fabric smooth enough to avoid deep bunching, then test the perch using the manufacturer's procedure. Inspect the mounts regularly. A hand press alone cannot confirm that a perch will hold your cat safely.
Pick a window with a clear view and an easy approach, and keep blind cords out of reach. Check that the window stays secure. Offer shade or another resting place if direct sun makes the hammock uncomfortable.
Safety first: If you can't verify the mount, choose a stable floor-level bed beside the window instead.
Floofie approves this sunny lookout, once the hardware checks out. 🐦 Set up a separate play area nearby, and use this cat wall shelves guide if your cat would rather lounge on a solid platform.
7. Repurposed Tote Bag Bed 👜
When your cat claims the grocery tote as a nap spot, turn it into a safer, comfier floor bed. Pick a sturdy canvas or denim bag with a flat base, and remove every handle before your cat can turn one into a loop toy.
Materials: Clean canvas or denim tote, seam ripper or scissors, needle and thread, finished washable cushion, and non-slip mat.
Difficulty: Beginner, with basic hand sewing.
Time: A short sewing session, plus laundry.
Choose a roomy grocery-style tote that holds its shape. Skip narrow fashion bags with chains, torn lining, or stiff hardware. A cute slogan doesn't make an unstable bed a good pick.
Convert the Bag, Not Just Its Purpose
Use a seam ripper to detach the handles, then remove dangling straps, drawstrings, and loose trim. Stitch over the attachment points to stop fraying. Fold the sides outward to make a low entrance, and set a finished cushion inside. Keep the bed on the floor, where its soft base can't slide off a chair.
- Check the opening: Press along the rim. If the bag collapses across the entrance, choose a sturdier tote.
- Enclose the filling: Use a finished insert rather than putting loose stuffing directly into the bag.
- Make cleanup simple: Pick bedding that lifts out and a tote you can wash according to its care label.
For a custom insert, follow the fleece-or-flannel method in the Sacramento County Animal Shelter cat-bed pattern. Its enclosed batting and stitching help keep the filling contained.
Floofie gives this tote-bed makeover a paw of approval. 🐾 Keep the cat's version handle-free, and add a washable cushion in a fabric your feline likes.
8. Vintage Suitcase Bed 🧳
Found a sturdy vintage suitcase at the thrift store? Give it a second life as a handsome cat bed, with one firm rule: remove the lid completely. A propped-open lid can move or trap your cat, so don't leave it attached.
Materials: Clean suitcase base, suitable screwdriver or hardware tools, washable cushion, fitted cover, and non-slip backing.
Difficulty: Intermediate, with hardware removal and careful preparation.
Time: A leisurely restoration session, plus time to air and dry.
Check the seams, underside, and corners before buying. Pass on any suitcase with lingering odors, mold, crumbling lining, sharp edges, or signs of contamination you can't identify. Floofie gives a skeptical sniff to anything questionable. 🐾
Keep the Charm, Lose the Catch Points
- Remove the lid safely: Detach the hinges with suitable tools. If you can't leave a smooth, secure base, pick another suitcase.
- Clear snag hazards: Take off straps and sharp or projecting latches. Remove loose parts and cover any accessible cavities.
- Clean and dry: Choose a cleaning method suited to the suitcase material, then let the base dry completely.
- Add removable bedding: Fit a cushion inside, keeping the entrance clear of bulky layers.
For a shaped, soft insert, adapt the construction approach in Shelter Medicine's feline housing projects. Enclose the filling and use a cover that comes off easily for washing.
Set the finished bed directly on the floor in a guest-room corner or beside vintage furniture. Skip decorative legs unless the whole setup has been designed to stay stable. Keep jewelry, ribbons, and travel-themed decorations away from your cat's nap spot.
Floofie approves: First-class loaf accommodations, with zero lid drama. 🧳 Add a washable fitted cover for a tidy, store-bought finish.
8 DIY Cat Bed Ideas Compared
Floofie has inspected all eight builds, and the right pick depends on your cat's favorite nap spot. Use this comparison to match each project's materials, effort, and best fit before you start crafting. 🐾
| DIY Cat Bed | 🔄 Complexity & Resources | ⚡ Effort & Cost | ⭐ Expected Result & Advantages | 💡 Ideal Use |
|---|---|---|---|---|
| Cardboard Box Cozy Nook | Low; box, blanket, basic cutting tools | About 30 minutes; very low cost | Enclosed, customizable bed that's recyclable and easy to replace | Quick, budget-friendly project for cats that like hiding |
| No-Sew Fleece Donut Bed | Low; fleece and a finished cushion or folded towel | Low effort; very low cost | Soft, warm bed with a raised rim and washable fleece cover | Beginners, colder rooms, or cats that curl against a bolster |
| Upcycled Wooden Crate Bed | Moderate; crate, sandpaper, cushion | Sanding and safety checks required; low cost with reclaimed wood | Durable, rustic bed set directly on the floor | A floor-level option beside a home-office desk |
| IKEA KALLAX Cubby Bed Hack | Moderate; cube shelf, cushion, possible tools and wall anchors | Assembly or modification required; potentially higher cost | A single-cubby bed insert that fits a compact, modern unit | Rooms needing integrated storage and a tucked-away cat bed |
| Old Sweater Basket Bed | Low; sweater and sturdy basket or tub | Very low effort; very low cost | Lightweight nest with a familiar scent that's easy to refresh | Cats seeking a cozy bed; choose low-shedding fabric for chewers |
| Window Hammock Perch Bed | Moderate; sturdy fabric and secure window mount | Basic materials; mounting and weight checks required | Elevated, space-saving perch with an outdoor view | Indoor cats that enjoy sunbathing and watching outside |
| Repurposed Tote Bag Bed | Low; sturdy tote and cushion | Low effort; very low cost if reusing a tote | Portable, cushioned bed with a durable fabric shell | Lightweight, washable option; secure or remove handles |
| Vintage Suitcase Bed | Low to moderate; suitcase, cushion, possible hardware removal | Cost depends on suitcase availability; heavier to move | Enclosed bed with distinctive retro style | Cats that like raised sides; check airflow, odors, and hardware |
Floofie's pick? Match the bed to your cat's habits, not just your décor. A box makes a quick hideaway, while the crate stays low and the KALLAX project uses one cubby. Each build can look polished with a cozy cushion or a coordinated finish. 😻
Time to Get Crafty for Nap O'Clock! 😻
Your cat has claimed the delivery box, ignored the fluffy cushion, and curled up on your sweater. Take the hint. The best DIY cat bed ideas start with observing where your cat already naps, then shaping a cozy spot around that preference. Floofie gives every build her paw of approval, provided the cat gets the final say. 🐾
Choose a project that matches your cat's habits and your crafting comfort. A box lover will likely prefer a simple nook over a hammock, while a cat that seeks cool surfaces may skip a fleece nest. Use materials you can inspect, smooth rough edges, secure the base and filling, and make the bedding easy to remove for cleaning. Floofie approves coordinated colors, but practical comfort comes first.
Let Your Cat Run the Acceptance Test
- Offer, don't place: Set the finished bed in a familiar resting area and let your cat investigate at their own pace.
- Adjust the surface: If your cat keeps choosing cool spots, swap thick fleece for a flatter cotton cover.
- Try a better location: Choose somewhere quieter with a clear entrance before adding more treats, toys, or blankets.
- Give cats their own space: In a multi-cat home, spread beds across different spots. Duplicate a favorite style when practical.
A cat who checks out the bed and returns to the sofa hasn't reviewed your crafting skills. The bed might feel too warm, enclosed, exposed, or misplaced. Change one practical feature, then see what your cat chooses. Floofie insists that feline feedback counts, even when it arrives as a dramatic flop beside your handiwork. 😹
Build cleaning into the design. Make the insert removable, inspect seams and fasteners, and check for chewed fabric. Replace parts that have lost their shape. If washing means dismantling the whole bed, simplify the construction before starting another project.
Add the Store-Bought Finish Without the Clutter
Start with a washable liner or suitable cushion, then coordinate the room around it. A cat-themed throw on a chair or playful wall art can finish the look without crowding the sleeping spot. Keep toys nearby for play, and clear them away if they get in the way of a nap.
No need to tackle every project this weekend. Turn a clean delivery box into a nook, settle a sweater into a sturdy basket, or add a cushion to an anchored cubby. Build a manageable bed, watch how your cat uses it, and adjust what needs improving. For a polished touch, add cozy FloofChonk accents around the nap corner rather than piling extras into the bed itself.
Floofie's final paw-approval goes to makers who leave room for feline opinions. Choose your purr-ject, make the cozy spot, and share a photo with your cat-loving friends. The occupant can pose, nap beside it, or ignore the camera entirely. 😻