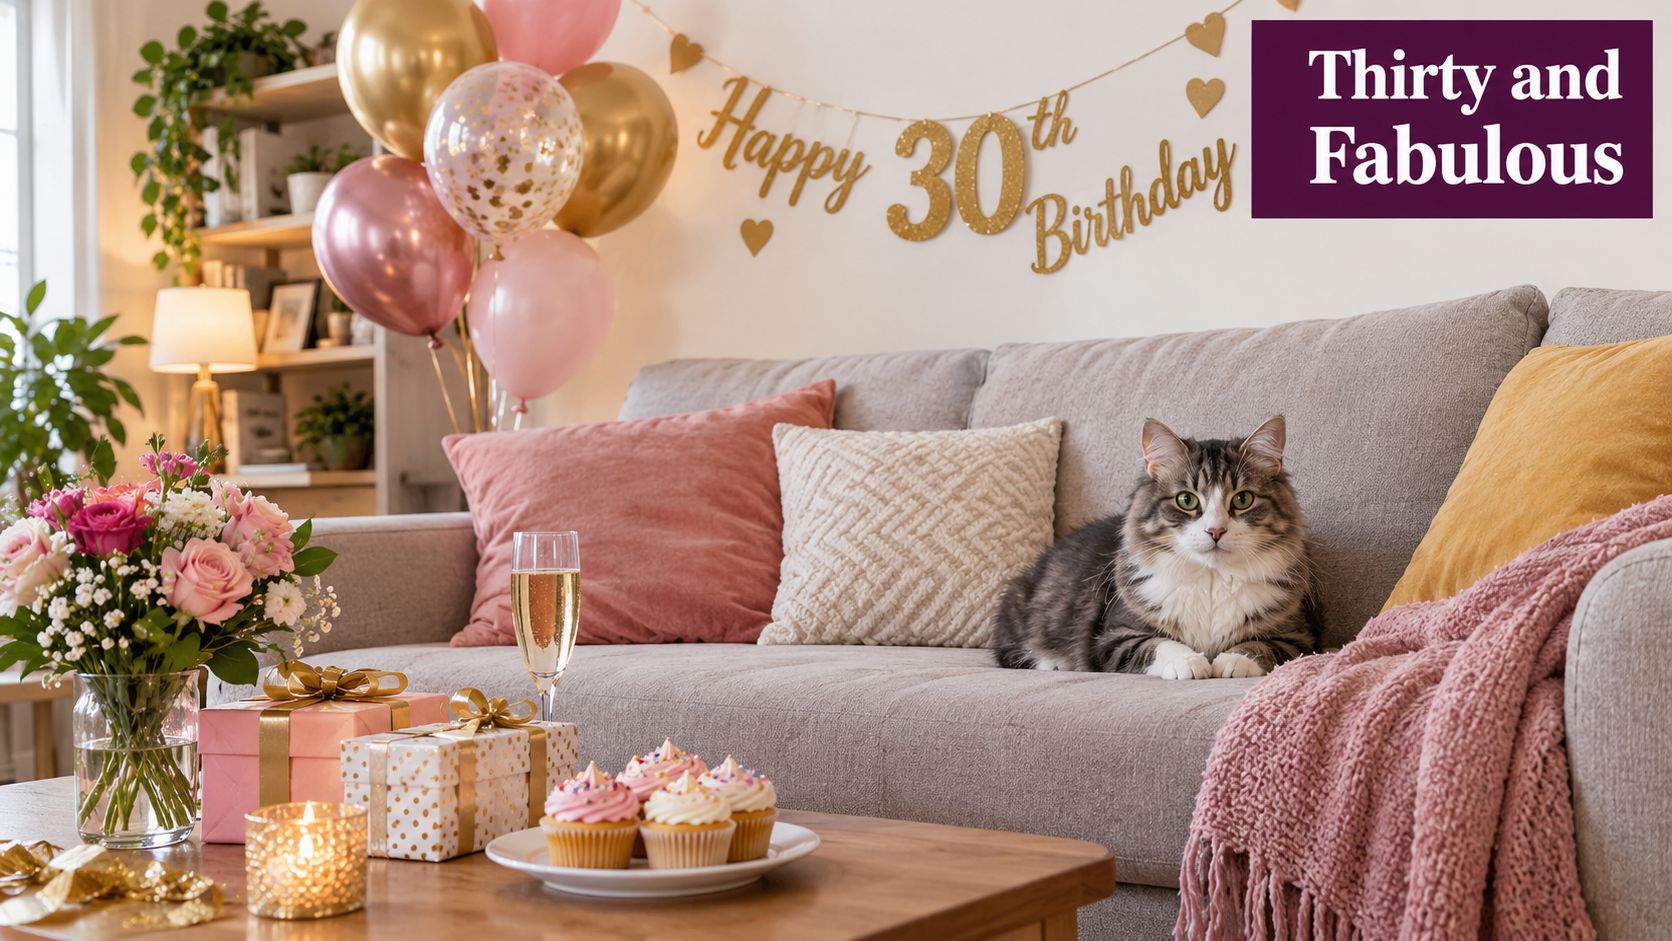
30th Birthday Banners: The Ultimate Cat Lover's Guide

You've got the cake ordered, the guest list is wobbling between “cozy dinner” and “full-blown party,” and one empty wall is staring at you like a cat waiting for dinner. That wall needs a focal point. A thoughtfully chosen banner can turn a cramped living room, dessert table, or balcony corner into a complete 30th birthday scene without swallowing the entire space.
Floofie, our resident FloofChonk mascot, gives every banner a serious inspection, including a sniff test, a paw tap, and one dramatic attempt to sit directly on the packaging. This guide follows Floofie's rules: choose a design with personality, measure before ordering, favor reusable materials where possible, and make sure the finished display looks fabulous in photos. 🐾
Welcome to the Purr-fect 30th Milestone
Maya planned her 30th birthday in a city apartment with a narrow dining area, a velvet sofa, and exactly one wall wide enough for decorations. Her first idea was a large disposable party kit covered in glitter. Then Floofie, observing from a suspiciously comfortable cardboard box, appeared to vote for something smaller, more personal, and much less likely to shed sparkles into the birthday cake.
She chose a banner with a deep plum background, warm lettering, and a tiny line of cat silhouettes under the words “Thirty and Furry Fabulous.” Hung above the dessert table, it framed the cake without competing with it. Guests gathered beneath it for photos, and the banner later moved to her home office as a keepsake.
That kind of flexibility suits a milestone birthday. 30th birthday banners can anchor a photo zone, establish the color palette, and tell guests where the celebration begins. They also give a party its visual signature. A room with balloons becomes a party; a room with balloons, a cake, and a well-positioned “30” banner becomes Maya's party.
From ceremonial display to personal statement
Birthday banners have roots that reach well beyond modern party aisles. Historical decoration traditions used banners and festive displays for rites of passage, while Romans used garlands and inscriptions during Saturnalia and medieval Europeans used banners for saints' days. Mass-produced paper goods in the 19th century helped make disposable decorations easier to produce, and craft-store supplies in the 1980s and 1990s made customized banners more accessible to hobbyists. This historical overview of birthday-banner traditions traces that progression from ceremonial decoration to personalized party décor.
That history explains why an age-specific banner feels more meaningful than a generic “Happy Birthday” sign. It marks a particular moment, not just an occasion. The number becomes a little visual time capsule, especially when the lettering, colors, and cat-themed details reflect the person celebrating.
Floofie's first rule: the best banner doesn't merely fill empty space. It gives the party a personality.
The commercial interest is there too. One market report projects the banner segment to grow at an approximately 7.2% CAGR from 2026 to 2034, while birthday parties are projected to represent an estimated 32% share of the global party-supplies market in 2026. The same market context shows why milestone products continue to attract attention. Explore the party-supplies market data for the broader category view. A U.S. marketplace snapshot also recorded 118K Amazon searches for “30th Birthday Banner” over the last 12 months, with an estimated annual spend of $82K, an average listing price of $9.87, and a top-five-brand click share of 39%. Those figures come from the same market snapshot and show that this isn't a purely decorative afterthought.
Before choosing a style, collect a few visual clues from the birthday guest of honor. Their favorite colors, sense of humor, home style, and relationship with cats can shape the design. For more theme inspiration, browse these 30th birthday theme ideas, then consider whether you need matching rentals, tables, or seating for the wider setup. If the party includes a children's activity area, a resource for book kids party rental equipment can help keep the celebration comfortable for every guest.
Picking the Best Materials and Standard Sizes
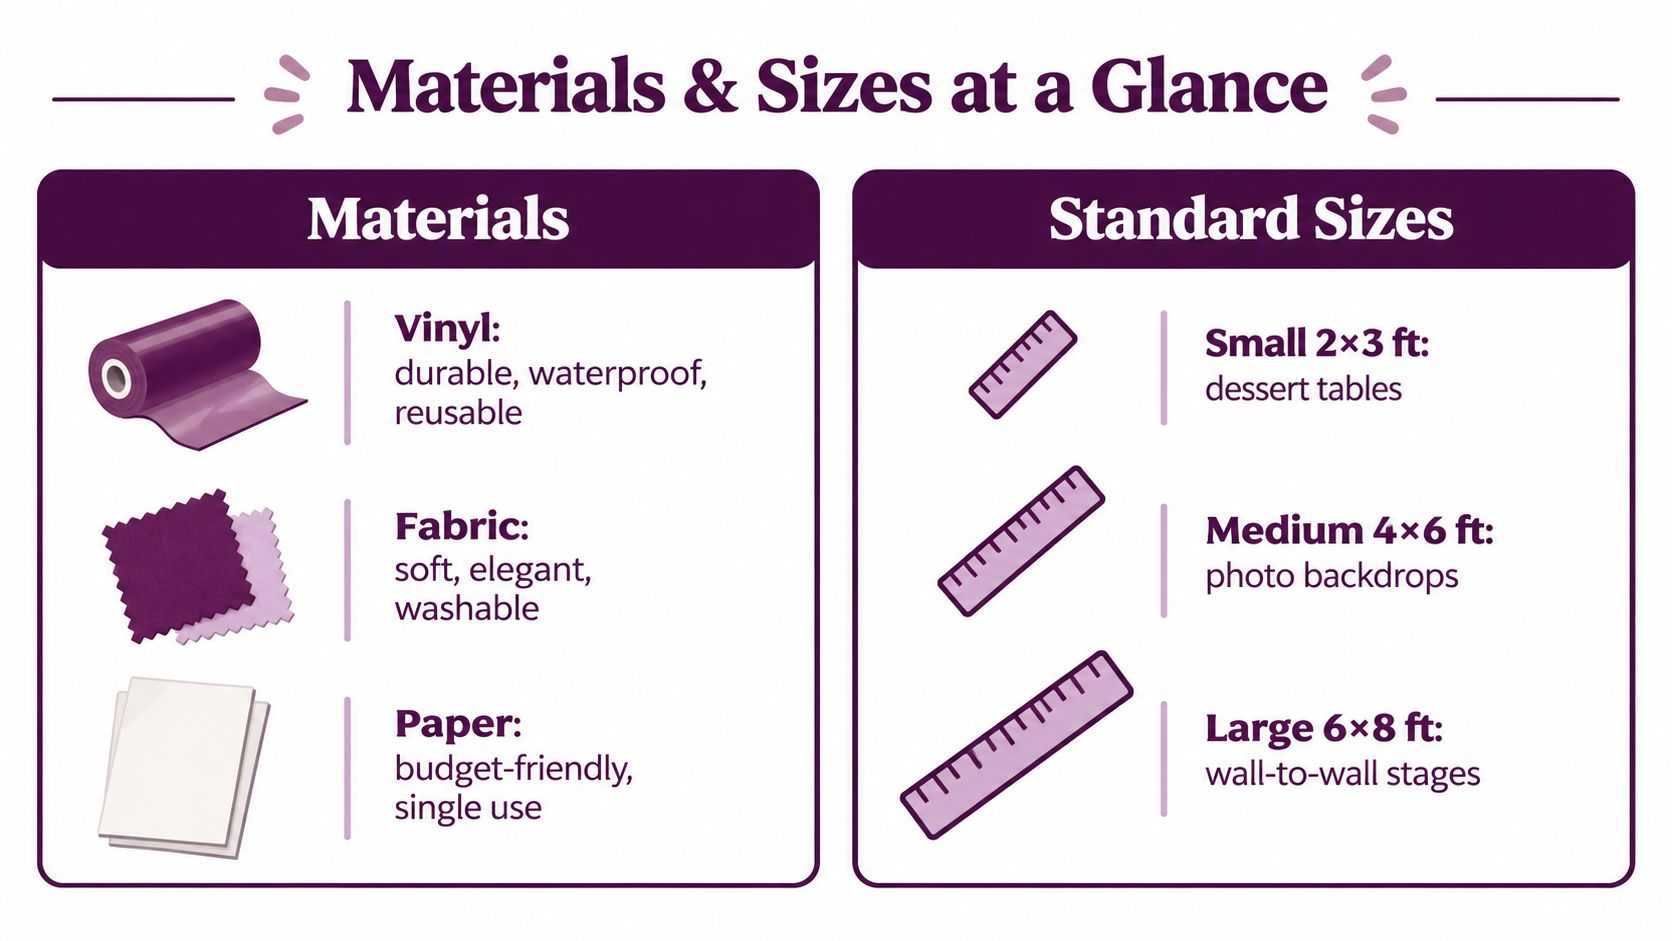
Material and size determine whether your banner looks polished or behaves like a dramatic kite. Start with the setting, then choose the substrate. A paper banner can be charming above an indoor dessert table, while a vinyl banner makes more sense when the display needs to handle repeated use or outdoor conditions.
13 oz vinyl is the widely recommended baseline for indoor and outdoor birthday banners because it balances print quality, handling, and cost. When installed properly, industry guidance describes it as durable enough for approximately 3 to 5 years outdoors. A matte finish can reduce glare near windows and photo lights, while gloss can make colors appear more vivid. This birthday-banner printing guide explains those material and finish considerations.
Match the substrate to the party
Choose 18 oz blockout vinyl when the banner will face repeated setup, high-traffic contact, or double-sided viewing. Its thicker construction improves tear resistance and reduces light bleed-through, which helps when the banner is hung near a window or handled often. It's the sturdy choice for a reusable milestone banner that may return for future birthdays, photo sessions, or cat-themed gatherings.
Fabric offers a softer visual effect and works beautifully with a warm, homey party style. It can fold neatly for storage and suit a banner intended to become part of the birthday person's décor. Paper remains useful for a low-commitment indoor display, especially when the banner is made from recycled cardstock and assembled with care.
| Party situation | Practical starting point | Why it fits |
|---|---|---|
| Dessert table in a home | Paper or fabric | Light, friendly, and easy to position |
| Indoor photo wall | Fabric or 13 oz vinyl | Better for repeat use and a clean backdrop |
| Covered outdoor area | 13 oz vinyl | Handles outdoor use when installed properly |
| Repeated setup or double-sided display | 18 oz blockout vinyl | More resistant to tearing and light bleed-through |
A common compact banner measures 12 inches by 60 inches, or 1 foot by 5 feet, which works well above a dessert table, across a doorway, or along a narrow apartment wall. This example of a 12-inch by 60-inch birthday banner provides a concrete baseline for smaller celebrations.
Measure before the whiskers get involved
Birthday banners also come in a broad preset range. One sizing guide lists 23 standard sizes, from 2 x 4 feet through 8 x 20 feet, with custom sizing available. Another guide notes that products can start at 2 x 4 feet and scale upward, with some custom vinyl banners reaching 16 feet by 50 feet. Those larger formats belong in spacious venues, not automatically in a one-bedroom apartment. Compare standard and custom birthday-banner sizes before choosing.
Measure the usable width, not the whole wall. Leave breathing room around doors, shelves, artwork, and light switches. If the banner sits above a table, measure from the tabletop to the lowest point where guests can comfortably stand for photos. A smaller sign with generous surrounding space often looks more intentional than an oversized banner squeezed between two lamps.
For ideas that extend beyond banners, explore these eco-friendly cat-themed gifts while building a celebration with a lower-waste mindset.
Space-Smart Placement for Apartments and Photo Zones
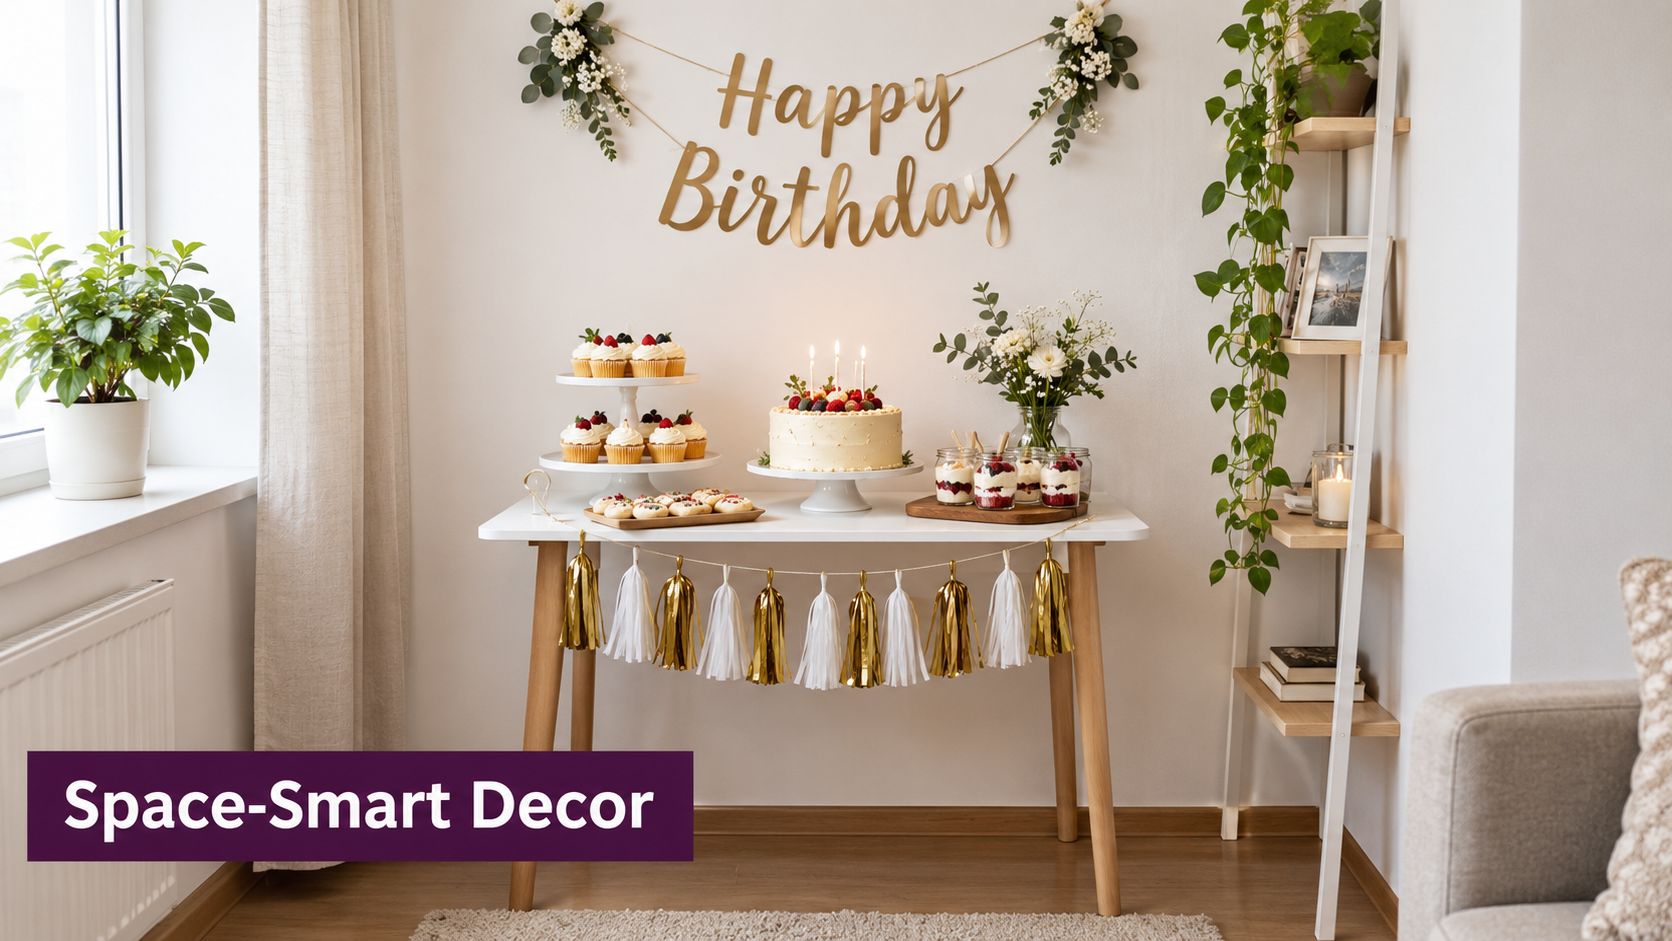
Bigger isn't always better. In a compact apartment, an oversized banner can cover the very wall that makes the room feel open, block a favorite artwork, or push guests into a narrow corridor. A smaller, personalized banner placed with intention can create a stronger photograph because the cake, faces, and lettering remain visible together.
Nora tested this during a dinner party in a small rental flat. She skipped a wall-to-wall backdrop and hung a 12-inch by 60-inch banner above a console table holding the cake and flowers. The camera captured the age, the dessert, and the guest of honor in one frame. After the party, she folded the banner and stored it in a drawer instead of filling a bin with disposable décor.
Three placements that earn their whiskers
Above the dessert table is the easiest arrangement. Keep the banner high enough that guests can reach the cake without brushing the lettering, then center it on the table rather than the entire wall. This creates a visual cluster, so the eye reads the banner, food, and serving pieces as one scene.
Across a doorway turns an ordinary entrance into a clear party threshold. Use a narrow format and avoid hanging it where it catches on clothing or blocks the door's movement. A fabric or lightweight paper design can work well here, while a heavier vinyl banner needs secure support at both ends.
Inside a photo zone calls for restraint. Pick one clean background, place the banner where the number sits near head height in the frame, and remove visual clutter underneath it. A small paw-print border or two cat silhouettes can provide the theme without turning every photograph into a busy pattern.
Photo rule: leave enough empty space around the banner for people, cake, and candid whisker wobbles.
A reusable banner also earns its storage space. Fabric can suit a soft, residential setting, while durable vinyl can serve future celebrations when it's stored flat or rolled without sharp creases. Personalization gives the item another life after the party. A phrase connected to the birthday person, rather than a generic slogan, can move to a home office, reading nook, or cat corner.
Scent can influence the atmosphere in a small home, but keep anything fragranced away from food, fabrics, and pets. If you're planning a cozy apartment celebration, these ideas for wax melts for small apartments may help you think about ambience without filling every surface with décor.
For a room where the banner becomes part of the everyday environment, borrow principles from cat room décor ideas. Floofie recommends clear pathways, stable objects, and no dangling temptation near a launch point.
Feline Fun and Clever Wording for Your Design
The wording decides whether a banner feels like a catalog purchase or a tiny portrait of the birthday star. “Happy 30th Birthday” is clear, but a cat lover's celebration can carry more mischief. Floofie's design desk accepts phrases such as “Purr-tying Like It's 1996,” “Thirty and Furry Fabulous,” “Dirty Thirty,” and “Flirty Thirty.” Choose the line that matches the person, not just the pun.
A quieter design might say “Chapter 30” with a small curled cat silhouette resting beneath the number. A bolder party could use “Meowgical Thirty” in oversized lettering with paw prints leading toward the cake table. For a friend who loves dry humor, “Nine Lives, One Big Birthday” gives the banner a wink without making the entire room look like a kitten nursery.
Build the visual mood around one idea
Start with the main phrase, then select a supporting motif. Too many illustrations can make the lettering difficult to read, particularly in photographs. One large cat silhouette, a neat paw-print border, or a small pair of ears in the corner usually delivers the theme more cleanly than a parade of cartoon kittens.
Pair a decorative display font with a simple sans serif. Let the birthday phrase carry the personality, then use the smaller text for a name, date, or short message. Dark plum, charcoal, cream, muted gold, and warm terracotta can create an adult palette, while a bright accent color can make the number stand out on camera.
The number 30 should remain the visual anchor. Give it enough contrast from the background, and avoid placing paw prints directly over the numerals. If the banner will hang near a window, check the design from the angle where guests will stand, not only from the screen where you created it.
Let the joke serve the guest
A pun works best when it reveals something about the person. “Thirty and Furry Fabulous” suits someone who treats their cat like royalty. “Purr-tying Like It's 1996” feels playful for a nostalgic party. “Flirty Thirty” may fit a lively night out, while “Chapter 30” suits a bookish dinner with a calmer mood.
Write the phrase on paper before sending it to print. Read it aloud, check the spelling of the name, and ask whether a guest unfamiliar with the joke will still understand the celebration. Floofie has rejected several designs for excessive apostrophes and one unfortunate attempt to spell “purr-fect” with three r's.
Design instinct: make the joke noticeable, but make the age unmistakable.
Include the name only if it improves recognition. A personalized banner can feel special, yet a shorter phrase may photograph more clearly from across the room. If the banner will be reused, avoid adding a date unless the date has sentimental value. The goal is a keepsake with enough personality to survive beyond one evening.
DIY Crafting and Eco-Friendly Ordering Tips
A sustainable banner starts with a realistic choice between making and ordering. DIY gives you control over materials, dimensions, and the exact shape of every letter. Custom ordering saves time and can produce a crisp finish when your schedule is already crowded with cake pickup, guest messages, and a cat attempting to sit inside the gift bag.
The handmade route
Begin by measuring the display area and sketching the phrase at full scale. Choose recycled cardstock for individual letters, fabric for reusable pennants, or biodegradable twine for stringing the pieces. Keep the design simple enough to assemble securely. A clean cat silhouette cut from a contrasting scrap can create more impact than several layers of glitter foam.
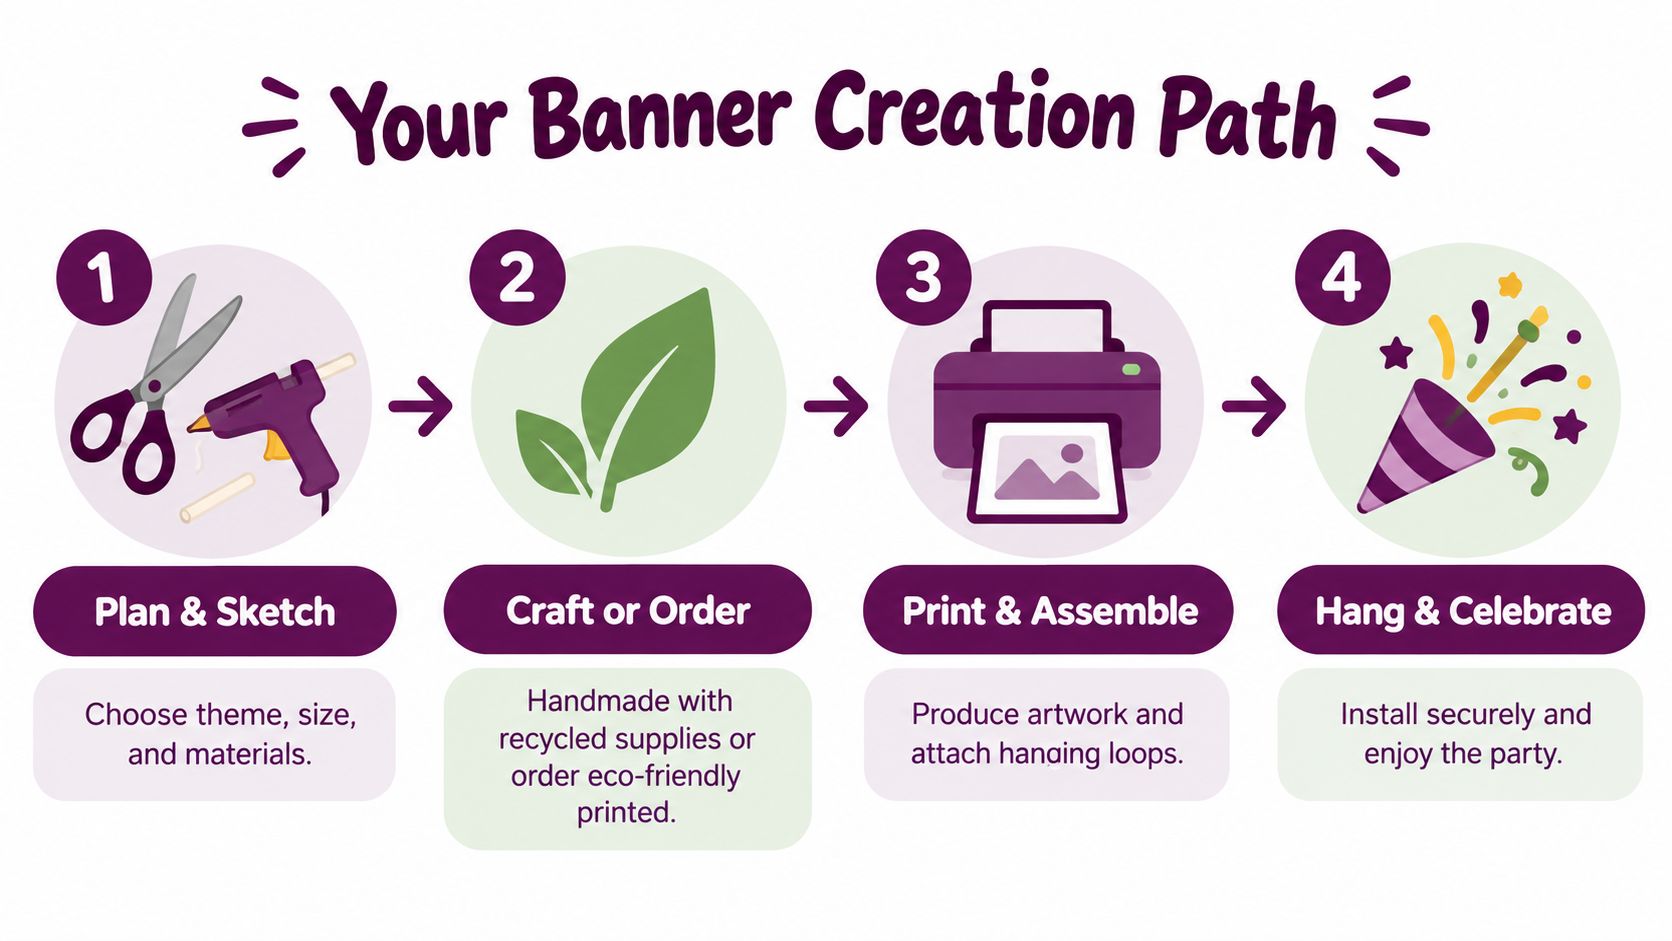
Use this order of operations:
- Plan and sketch. Choose the phrase, palette, finished width, and hanging points before cutting anything. Make a paper mock-up and hold it against the wall so you can spot sizing problems early.
- Prepare the pieces. Cut letters and shapes with a ruler and craft knife or scissors. For fabric, mark each pennant consistently so the finished line doesn't look lopsided.
- Assemble carefully. Attach letters to a ribbon, sew or tie fabric pieces to twine, and reinforce holes with small paper rings or eyelets when the material needs support.
- Inspect the result. Tug each attachment gently, trim loose fibers, and keep the finished banner away from food preparation surfaces until installation.
The creative process can become part of the celebration. Friends can write tiny birthday wishes on the reverse side of paper pennants, while a fabric banner can collect embroidered messages over future milestones. Handmade also doesn't have to mean rustic. Consistent spacing, limited colors, and clean edges create a polished result.
The custom-order route
When ordering, ask about recycled or fabric substrates, sustainable inks, and minimal packaging. Review the proof at full size, not just as a thumbnail. Check every letter, the spelling of the name, the contrast between text and background, and the placement of cat motifs.
Ask the vendor how the banner arrives and whether it includes reinforced holes, sewn edges, ribbon, or another hanging solution. If you're comparing related custom-print products for a wider party setup, Custom Sticker Shop windshield graphics offers a useful example of how personalized lettering can extend a theme beyond the main wall display.
Avoid ordering a size before confirming the wall measurements. Also decide whether the banner needs to fold, roll, wash, or withstand outdoor handling. A reusable item earns its eco-friendly advantage only when you store it safely and bring it out again.
Hanging Methods That Save Your Walls
A beautiful banner can still cause trouble if the hanging method ignores the wall. Painted drywall, brick, glass, fences, and rental surfaces each need a different approach. Test the method in a discreet spot, follow the hardware maker's instructions, and never assume a smooth-looking surface will hold the same way as a textured one.
For painted drywall, removable adhesive hooks or strips can work for lightweight displays when the wall is clean and the product is rated for the banner's load. Apply them to the reinforced corners rather than the printed center. Give the adhesive the recommended time to bond before adding tension, and remove it slowly in the direction specified by the manufacturer.
Match the hardware to the surface
Glass works well with suction cups or removable clear hooks designed for smooth surfaces. Clean and dry the glass first, then keep the banner away from a window latch. A narrow fabric or paper banner usually looks neater on glass than a heavy sign that pulls at the attachment points.
Brick needs a different strategy. If drilling is not allowed, use a freestanding frame, a tension system between suitable supports, or binder clips attached to a line that runs independently of the wall. Avoid forcing adhesive products onto dusty, uneven masonry.
Outdoor fences can accept cable ties, clips, or cord threaded through reinforced holes, provided the installation doesn't damage the fence. Leave a little flexibility for movement, but don't let the banner flap freely in wind. Outdoor displays need closer inspection because repeated pulling can enlarge holes or strain corners.
Keep the banner level and the cat curious elsewhere
Threading fishing line through both top corners can create a clean, nearly invisible support, while binder clips make it easier to adjust the spacing. A tension rod suits a doorway or window recess when the opening can support it safely. For a small table display, a tabletop stand can eliminate wall contact entirely.
Sagging usually begins when the support points sit too close together, the banner is heavier than the hardware expects, or the line is tied with uneven tension. Reinforced grommets, sewn hems, or carefully supported punched holes help distribute the pull. Don't tape directly over printed areas if removal could lift ink or leave residue.
Floofie's safety inspection has a strict standard. Keep dangling cords out of reach of jumping cats, place furniture so it doesn't create a launch ramp toward the banner, and secure freestanding frames where paws or tails could knock them over. Never leave a curious pet alone with loose twine, ribbon, small clips, or adhesive backing.
Rental-wall rule: choose a freestanding or tension-based solution when the surface or deposit matters more than permanent hardware.
Before guests arrive, stand at the camera position and check three things: the banner is level, the main phrase is readable, and no light creates a bright reflection across the number. Take a test photo with the room lights on. Floofie may refuse to pose, but the wall will still tell you whether the installation is ready.
Your Ultimate 30th Birthday Banner Checklist
A successful banner doesn't depend on a giant budget or a ballroom-sized wall. It depends on a sequence of small decisions made before the scissors, shopping cart, or cat paws take over. Use this checklist to turn the party plan into something you can install.
Before choosing the design
- Measure the display area: Record the usable width and height above the table, doorway, or photo zone.
- Choose the visual job: Decide whether the banner will identify the entrance, frame dessert, or create the main photo background.
- Set the personality: Pick a phrase that suits the guest of honor, such as “Chapter 30,” “Dirty Thirty,” or “Thirty and Furry Fabulous.”
- Limit the motifs: Select one main cat detail, like a silhouette, ears, or paw-print border, so the lettering stays clear.
- Check the palette: Choose colors that contrast with the wall and complement the cake, balloons, and tableware.
Before placing an order
- Select the material: Use paper for a simple indoor display, fabric for a soft reusable keepsake, 13 oz vinyl for a balanced indoor or outdoor option, or 18 oz blockout vinyl for heavier repeated use.
- Confirm the size: Compare the measured space with the supplier's finished dimensions. A compact banner often suits an apartment better than a massive backdrop.
- Review the proof: Check the age, name, spelling, punctuation, color contrast, and cat artwork at full size.
- Ask about finishing: Confirm whether the banner includes reinforced holes, sewn edges, ribbon, or another hanging feature.
- Consider the next use: Choose a date-free design if you want to reuse it for future celebrations or keep it as home décor.
Before crafting
- Gather sustainable supplies: Set aside recycled cardstock, washable fabric, biodegradable twine, scissors, a ruler, adhesive or thread, and a way to reinforce attachment points.
- Make a mock-up: Lay the pieces on the floor or tape paper placeholders to the wall before cutting the final materials.
- Standardize spacing: Use a template so every letter and pennant follows the same rhythm.
- Test the joins: Tug gently on each connection and reinforce anything that shifts.
- Store the leftovers: Keep reusable scraps and templates in a labeled envelope for future cat-themed projects.
Before hanging
- Match the surface: Choose removable strips for suitable painted walls, suction-based hardware for glass, and freestanding or tension-based methods when drilling isn't appropriate.
- Inspect the support: Check that clips, hooks, rods, or ties can hold the banner without pulling at the corners.
- Protect the walls: Clean the surface as directed and test removable hardware discreetly.
- Check the camera view: Take a test photo from the guest position and adjust height, glare, or surrounding clutter.
- Protect curious pets: Remove loose packaging, shorten dangling cords, and keep the finished display away from jumping routes.
On party day
- Hang before the cake arrives: Install the banner while the wall and table are still accessible.
- Keep the number visible: Move balloons, floral stems, and serving stands if they cover the “30.”
- Create a clear photo pocket: Leave enough room for guests to stand comfortably without blocking the lettering.
- Save the keepsake: Fold fabric carefully or roll vinyl loosely after the celebration, then store it away from moisture, heat, and adventurous claws.
Floofie's final verdict is simple: a 30th birthday banner should feel intentional, readable, and a little mischievous. Choose the size that respects the room, the material that matches the occasion, and the feline detail that makes guests grin.
Bring the celebration together with cat-themed apparel, accessories, décor, and pet-friendly finds selected with Floofie-approved charm. Visit FloofChonk to find playful pieces that pair with your personalized 30th birthday banner and make the whole party feel delightfully purr-sonal.