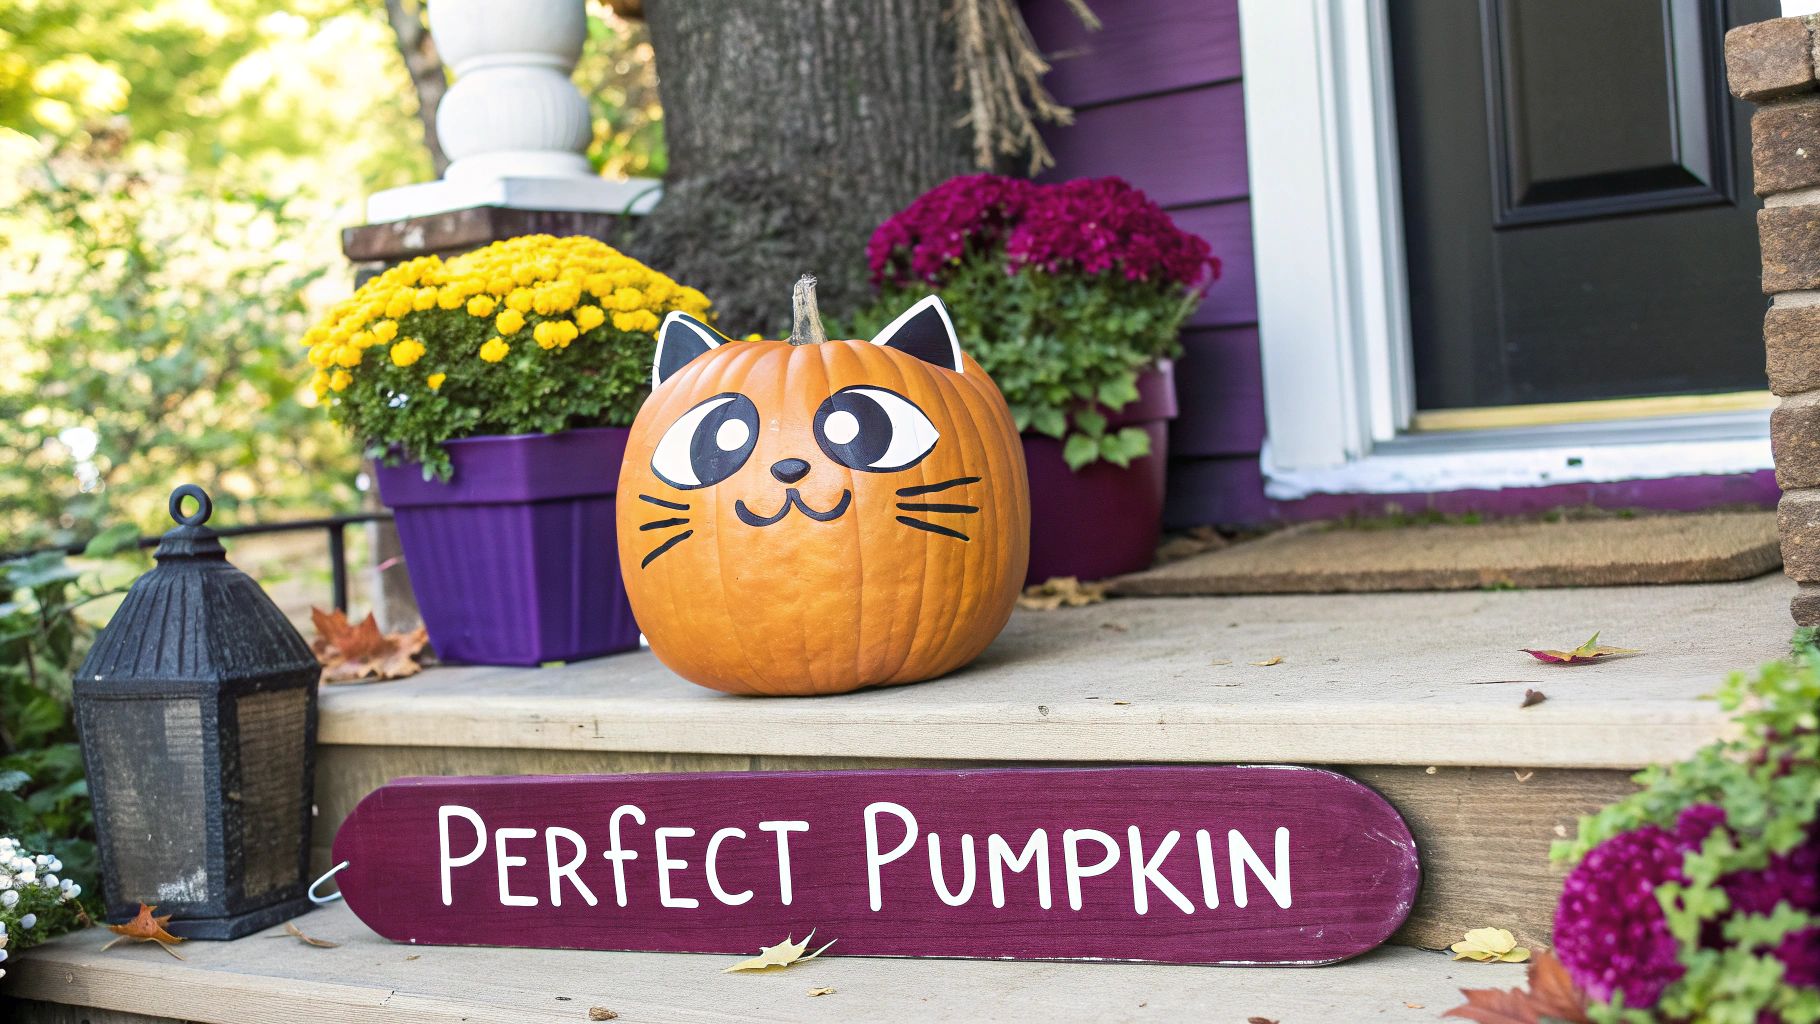
Your Guide to the Perfect Kitty Jack O Lantern

Ready to ditch the boring old gourd and carve a masterpiece that's truly the cat's meow? A kitty jack-o'-lantern is the purr-fect way to show off your feline fanaticism this Halloween. It’s all about bringing a cute, spooky, or just plain silly cat face to life on a pumpkin, creating a decoration that’s uniquely you. 🐾 Our playful mascot, Floofie, is here to guide you!
Your Pawsome Pumpkin Carving Adventure Awaits
Alright, fellow cat lovers, let's get our paws dirty! If you're ready to move beyond the same old spooky faces and create something truly special, you've come to the right place. Our head carving consultant, Floofie, is here to guide you on a fun little adventure to craft the most adorable kitty jack-o'-lantern on the block. 😻
This guide is packed with everything you'll need, from picking the perfect pumpkin canvas to getting those final whiskery details just right. We're sharing our best insider tips, free stencils, and plenty of meow-tivation along the way.
From Turnips to Tabbies
Before we start carving, here's a little trivia for you: jack-o'-lanterns weren't always pumpkins. The tradition actually started with Irish and Scottish folks carving spooky faces into turnips to ward off spirits. It wasn't until immigrants brought the tradition to North America that they discovered the native pumpkin was way easier to carve and made for a much better canvas.
This Halloween, we're putting a modern, feline spin on that old tradition. It's the ideal way to celebrate the season and pay proper tribute to our furry overlords.
Floofie’s Fun Fact: "Every pumpkin has a cat face waiting inside, you just have to let it out! It’s way more fun than chasing a red dot… almost." 😼
Whether this is your first time carving or you're a seasoned pro, we're here to help you make some Halloween magic. This project is a fantastic way to get creative, and who knows, it might even spark some ideas for other decor. If you're looking for more ways to express your cat-loving style, check out Floofie's favorite guide on eco-friendly cat-themed gifts.
Now, let's get carving! 🎃
Gathering Your Essential Carving Supplies
Before we unleash our inner pumpkin Picassos, we need to get our paws on the right tools! A well-equipped carver is a happy carver, and having the right supplies makes all the difference between a creative masterpiece and a frustrating mess. Floofie insists!
Think of it like this: you wouldn't try to groom a Persian with a toothbrush, right? The same logic applies here. A quality, serrated pumpkin saw is an absolute game-changer for getting those clean, crisp lines that will make your cat's face really pop.
Floofie's Fave Tools
A sturdy scooper is another must-have on the list. It makes clearing out all those pumpkin guts way less of a chore, letting you skip straight to the fun part. And for those tiny, intricate details like whiskers and pupils? A fine-detail tool is your new best friend.
To give you a better idea, our expert mascot, Floofie, helped put together this handy toolkit guide.
Floofie's Purr-fect Pumpkin Carving Toolkit
Here are the must-have tools and fun extras for your kitty jack o lantern project, complete with tips from our expert mascot, Floofie.
| Tool | Why You Need It | Floofie's Friendly Tip |
|---|---|---|
| Serrated Pumpkin Saw | Essential for precise, clean cuts. It’s flexible enough for curves but strong enough to get through thick pumpkin walls. | "This is your #1 tool! A cheap, flimsy one will just bend and break. Get a good one!" |
| Sturdy Scooper | Quickly removes seeds and pulp. A good one will scrape the inside walls clean for a better carving surface. | "Don't spend forever on the goop. A big metal spoon from the kitchen also works in a pinch!" |
| Fine-Detail Tools | Perfect for small, intricate areas like eyes, nose details, and those all-important whiskers. | "Patience is key for the small stuff. These little tools help you avoid a cat-astrophe." |
| Poker or Awl | Used to transfer your stencil pattern onto the pumpkin by poking small holes along the lines. | "Connect the dots! This makes following your pattern so much easier than drawing it on." |
Getting a dedicated kit is often the easiest and safest way to go, especially if you're just starting out. Floofie sniffed out a few options for you to consider:
- A Solid Carving Kit: If you're new to this, a basic kit is a fantastic starting point. We're big fans of the variety in this Pumpkin Carving Tool Set on Amazon because they give you everything you need right out of the box.
- Pro-Level Saws: Ready to level up? Investing in some professional-grade carving tools will give you incredible precision for those really ambitious designs.
- Household Helpers: Don't have a kit? No worries. A large metal spoon is great for scooping, and a paring knife can handle bigger cuts. Just be extra careful with kitchen knives—they aren't designed for this and can slip!
The secret to a great kitty jack o lantern isn't just the design—it's having the right tools to bring it to life without a major hiccup! Floofie says a good saw makes all the difference for those delicate whiskers.
Ultimately, a small investment in a dedicated carving set can save you a ton of hassle and help you create a truly spectacular piece of feline-inspired art for your porch.
Now that your toolkit is ready, let's find the purr-fect pumpkin canvas!
How to Pick and Prep the Perfect Pumpkin
Every great kitty jack-o'-lantern starts with the perfect pumpkin! Floofie insists a trip to the local pumpkin patch is the only way to find a gourd with true purr-sonality. 😼 Don't just grab the first orange orb you see; take your time finding the ideal canvas for your feline masterpiece.
You'll want to look for a pumpkin with a smooth, firm surface that’s free of bruises or weird soft spots. The shape is super important, too! A tall, oval pumpkin is perfect for a sleek Siamese design, while a round, plump one is just begging to become a cuddly Persian face. Make sure it has a sturdy green stem and sits flat without wobbling.
Getting to the Guts and Glory
Once you've brought your chosen one home, it's time for the messy part! Start by drawing a circle or hexagon on top for the lid. Here’s a little pro tip Floofie swears by: always cut the lid at a 45-degree angle pointing inward. This simple trick creates a small ledge for the lid to rest on, so you never have to worry about it falling inside later. Genius!
Next, it's time to scoop out all those seeds and stringy bits. A sturdy scooper from a carving kit works great, but a big metal spoon from your kitchen will do the trick just fine. Keep scraping the inside walls until they’re about one inch thick. This is the sweet spot—it makes the pumpkin thin enough to carve easily and gives you that beautiful, even glow, but it's still thick enough to support your design without collapsing.
Floofie’s Cleaning Tip: "A clean pumpkin is a happy pumpkin! A smooth inside wall makes carving a million times easier. Plus, you can roast the seeds for a yummy snack while you work!" 😋
Getting your pumpkin prepped and ready is just as important as the carving itself. It’s also the perfect moment to get inspired for the rest of your spooky season setup. If you’re looking for more fun ways to celebrate, check out Floofie's favorite cat costume ideas for cats to complete your Halloween theme.
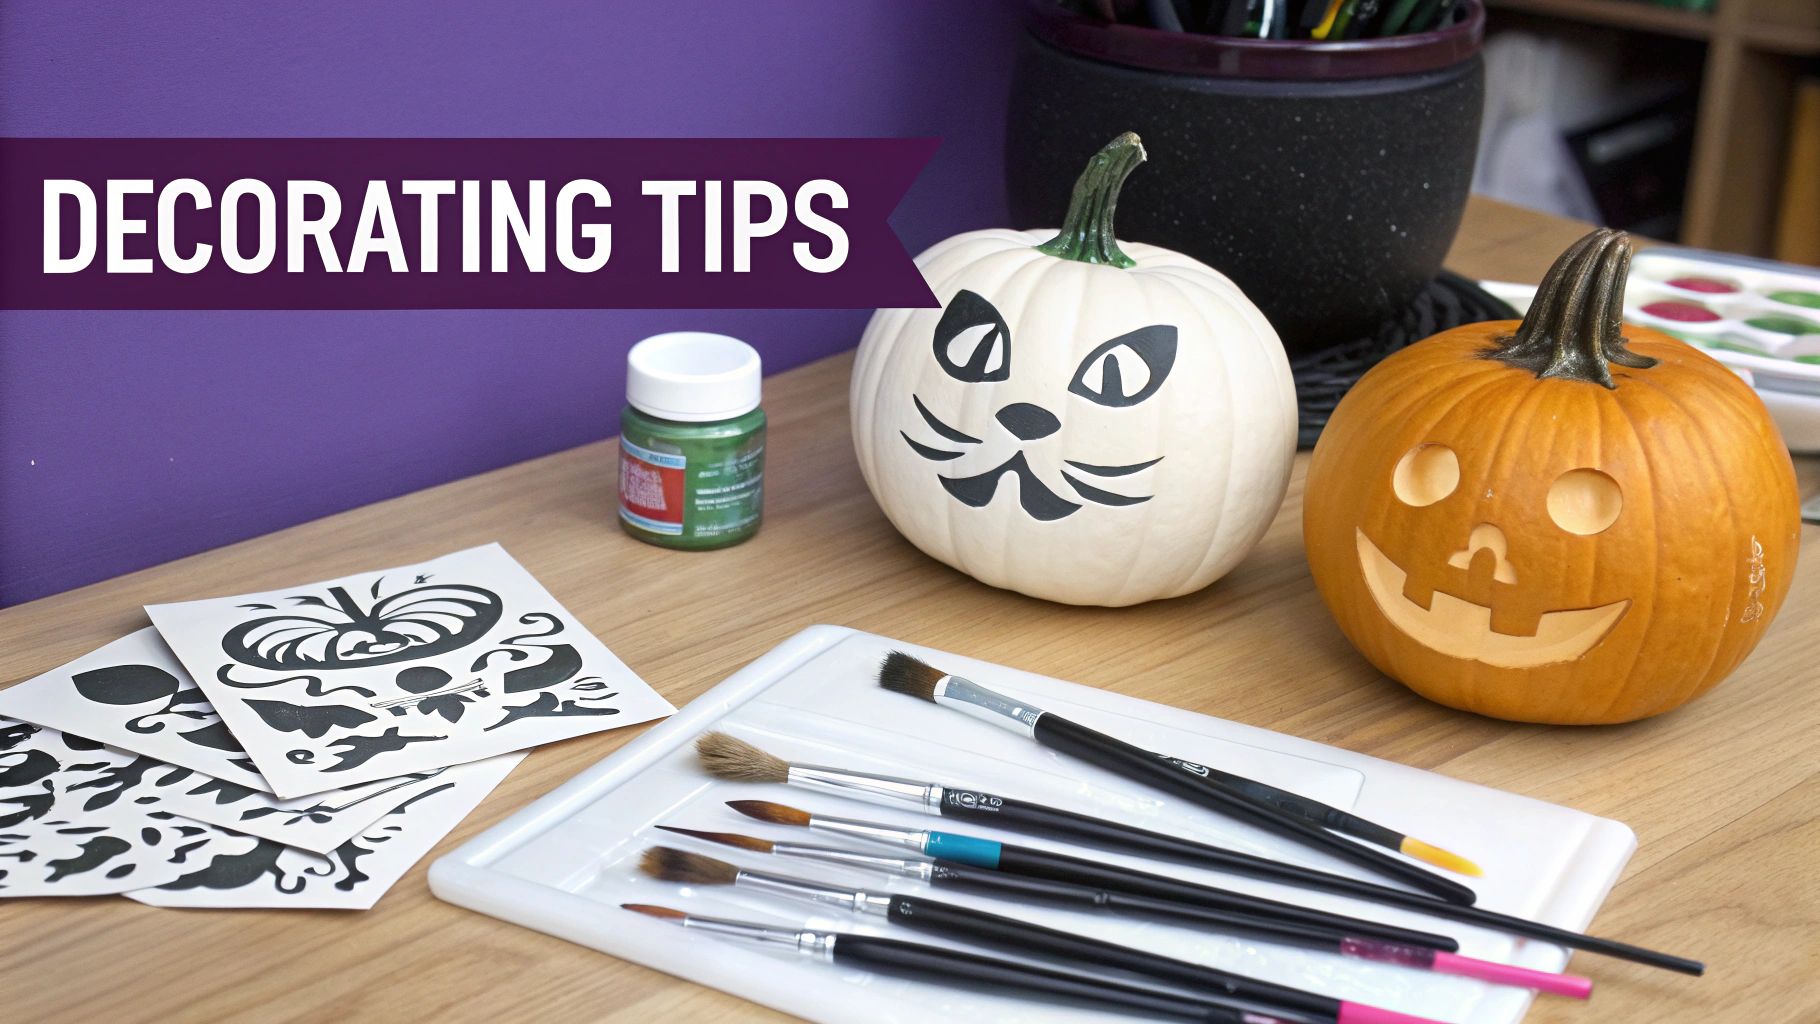
Carving Your Kitty Design with Confidence
Alright, here comes the best part—actually bringing your kitty jack-o'-lantern to life! 🎃 This is where you give your pumpkin its own unique purr-sonality. Don't worry, Floofie and I will walk you through everything, from getting the design on the pumpkin to making those final, perfect cuts.
Ready to get your paws dirty? We’ve made some exclusive, Floofie-approved cat stencils just for you. Whether you want a simple, cute kitten face or something more dramatic like a detailed Siamese, you can download your free kitty stencils here. Once you’ve picked out your favorite, just print it and trim off any extra paper.
Tape the stencil securely onto the smoothest side of your pumpkin. From there, grab a poker tool (a sturdy toothpick works in a pinch!) and poke small holes all along the design lines. This transfers the pattern right onto the pumpkin's skin, leaving you with a perfect connect-the-dots guide when you peel the paper away.
From Tracing to Two-Tones
With your pattern all mapped out, it’s time to pick up your carving saw. The golden rule here is to start with the smallest, most detailed sections first. Think the pupils of the eyes or the tip of the nose. Tackling these intricate bits first keeps the pumpkin structurally sound before you move on to carving out the bigger pieces.
Use a gentle, back-and-forth sawing motion and let the tool do the heavy lifting—no need to force it! For those tricky curves, it's way easier to pull the saw out and reinsert it at a new angle instead of trying to twist the blade.
Floofie’s Top Carving Tip: "Patience, my human friend! A steady paw wins the race. Rushing leads to a cat-astrophe, and nobody wants a sad-looking kitty pumpkin. Take breaks and enjoy the process!" 😼
Want to add a little extra magic? Try a two-tone technique. Instead of cutting pieces all the way out, you can use a scraping tool or a linoleum cutter to gently shave off just the outer orange skin. This reveals the lighter flesh underneath, which will glow softly when you light the pumpkin. It’s perfect for creating a beautiful contrast on details like inner ears or whiskers and gives your kitty jack o lantern a really professional touch. Floofie approves!
This next part is all about safely lighting up your new creation.
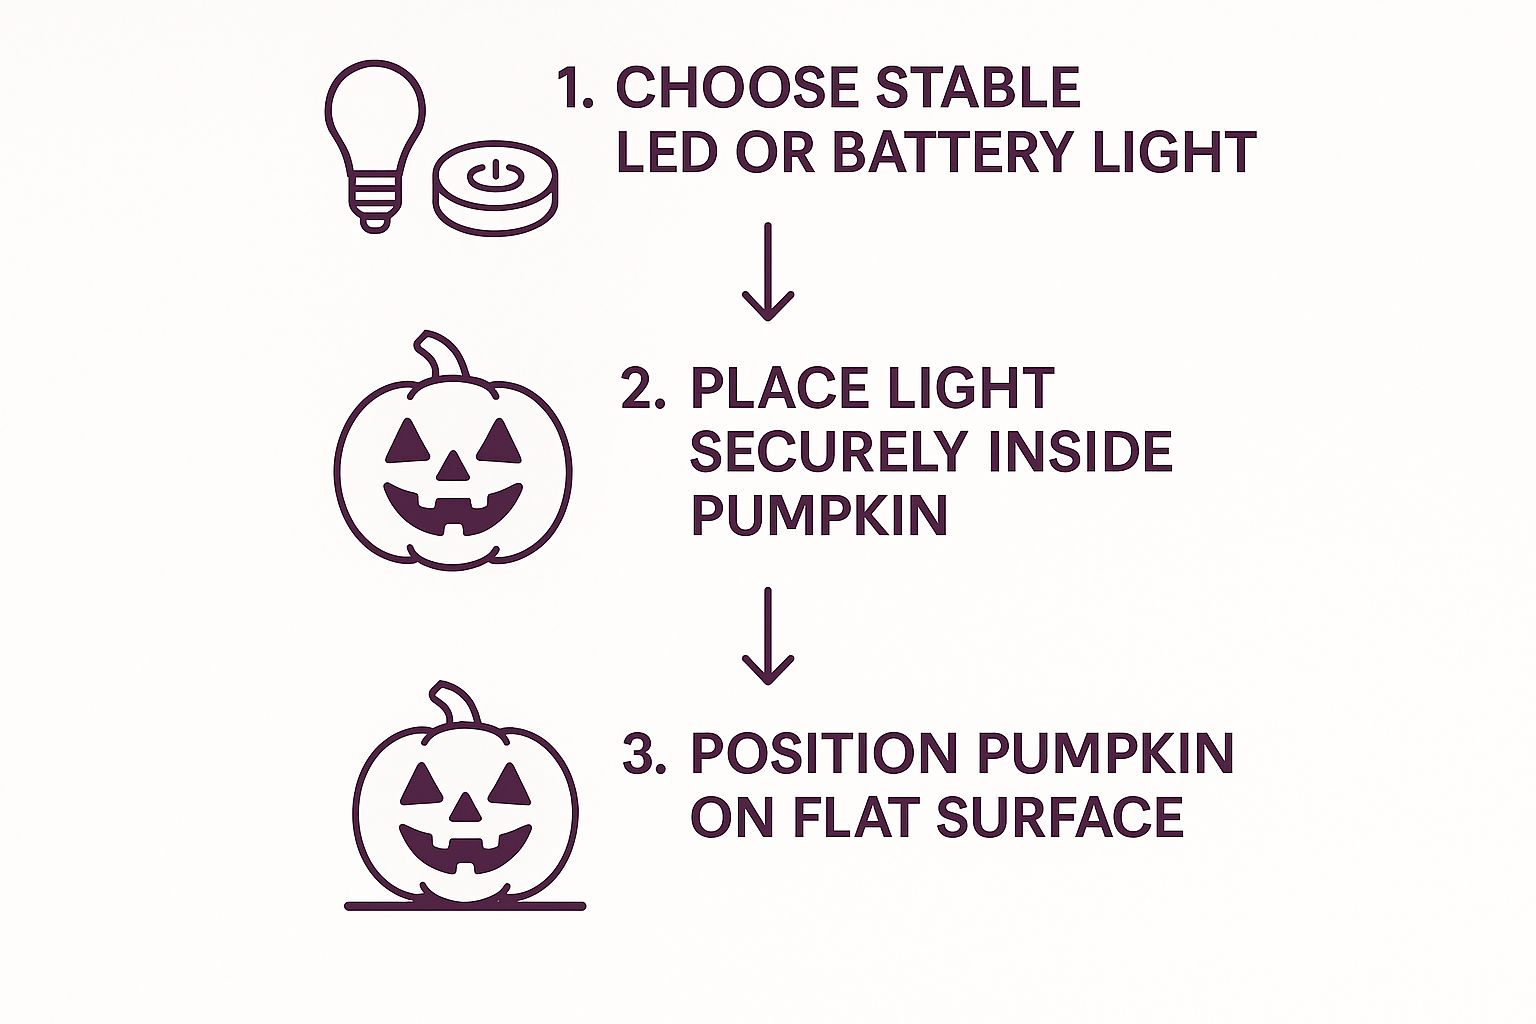
As you can see, safety is just as important as creativity. A stable, battery-powered light on a flat surface ensures your masterpiece can be admired without any fire hazards.
Adding Finishing Touches and a Dazzling Glow
Alright, the hard part is over! Your pumpkin is carved, but now it's time to add that extra flair. 😽 These final details are what take your kitty jack-o'-lantern from cute to claw-some, giving it a personality that really stands out on the porch. Floofie says this is the best part!
Think three-dimensionally for a moment. You can use some of those pumpkin scraps you set aside to create adorable 3D ears that pop right off the top, held in place with toothpicks. A curled piece of pumpkin rind attached to the back also makes for a perfect little swishy tail.
Purr-fectly Creative Details
Don't be afraid to add some decorations that don't involve carving. These little touches can make a huge difference and bring your kitty creation to life.
- Whimsical Whiskers: Grab a few black or white pipe cleaners and gently poke them into the pumpkin's cheeks. Instant cartoonish whiskers!
- Unique Markings: A little non-toxic, pet-safe paint goes a long way. Use a dab to add calico spots or tabby stripes. Floofie thinks this is a genius idea! 🎨
- Accessorize: Why not give your kitty a tiny bow tie made from felt? Or a little witch hat? The possibilities are endless!
Pumpkin carving has become a true art form, moving far beyond typical spooky faces. In fact, some artists and academics take it very seriously, creating detailed portraits of famous figures. You can find out how this tradition serves as both cultural ritual and complex artistic expression to learn more about the history of pumpkin carving.
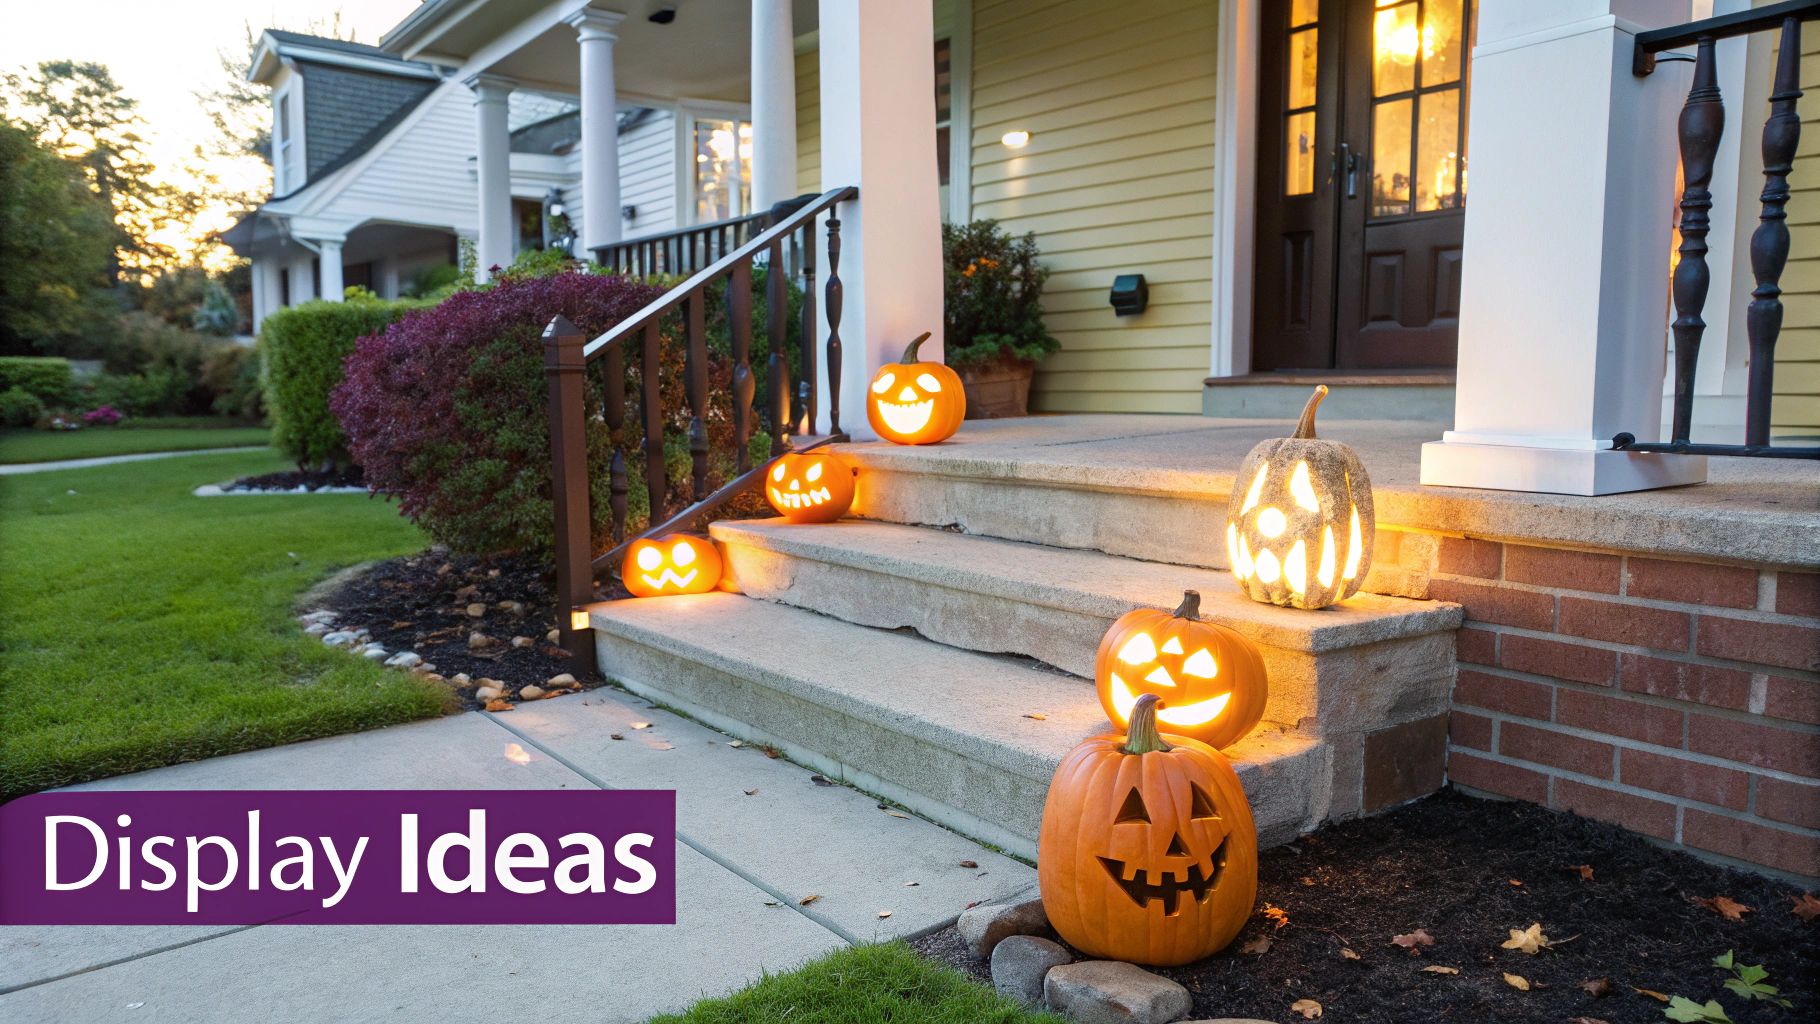
Let There Be (Safe) Light
When it's time to illuminate your masterpiece, Floofie highly recommends battery-powered LED lights. Real candles are a big no-go—they're a serious fire hazard and could easily singe a curious kitty's whiskers!
For that classic, warm flicker, grab one of these amber LED tea lights. Or, for a truly magical glow, try a pack of these awesome color-changing pumpkin lights to make your kitty the undisputed star of the block. ✨
Got Questions About Your Cat Pumpkin?
You've got questions, and our head cat-in-charge, Floofie, has the answers. Let's dig into some of the common things people wonder about when they're making their kitty masterpiece. It's totally normal to get stuck on the little details! 😼
One of the biggest questions we hear is, "How do I keep my pumpkin from getting all sad and droopy?" It’s a total bummer when your amazing carving starts to wilt after just a day or two. A super easy trick is to coat all the cut edges with petroleum jelly. This seals in moisture and can definitely give your creation a few extra days of spooky glory.
Fixing Carving Cat-astrophes
"What happens if I totally mess up a cut?" Don't even worry about it. It happens to literally everyone, even seasoned pumpkin pros.
If a piece accidentally breaks off, you can usually stick it right back on with a couple of sturdy toothpicks. And if you carve out something you shouldn't have? Get creative! That little oops can easily become a battle scar or a unique whisker freckle.
Floofie’s Friendly Advice: "Every whisker and pointy ear is a chance to show your love for your feline friend. Don't stress about making it perfect—just have a good time with it! The real art is in celebrating our furry family members."
Speaking of celebrating our pets, that creative spirit doesn't have to end with Halloween. You can find other beautiful ways to celebrate your pet with custom pet jewelry that you can enjoy all year round. It’s such a sweet way to keep your best buddy close.
Ready for more feline fun? Explore the amazing collection of cat-themed apparel, toys, and home decor at FloofChonk. Shop Now at FloofChonk.com!